Fiber Fridays #2: Dying Fibers

Hello everyone!
This post is coming to you a bit late due to wifi issues so I apologize for the delay! This week I want to discuss with you guys what it is like to dye your own fibers for your work. Spoiler alert! It’s hard, at least in my own experience. Getting the perfect shade that you are imagining in your head can prove to be difficult.

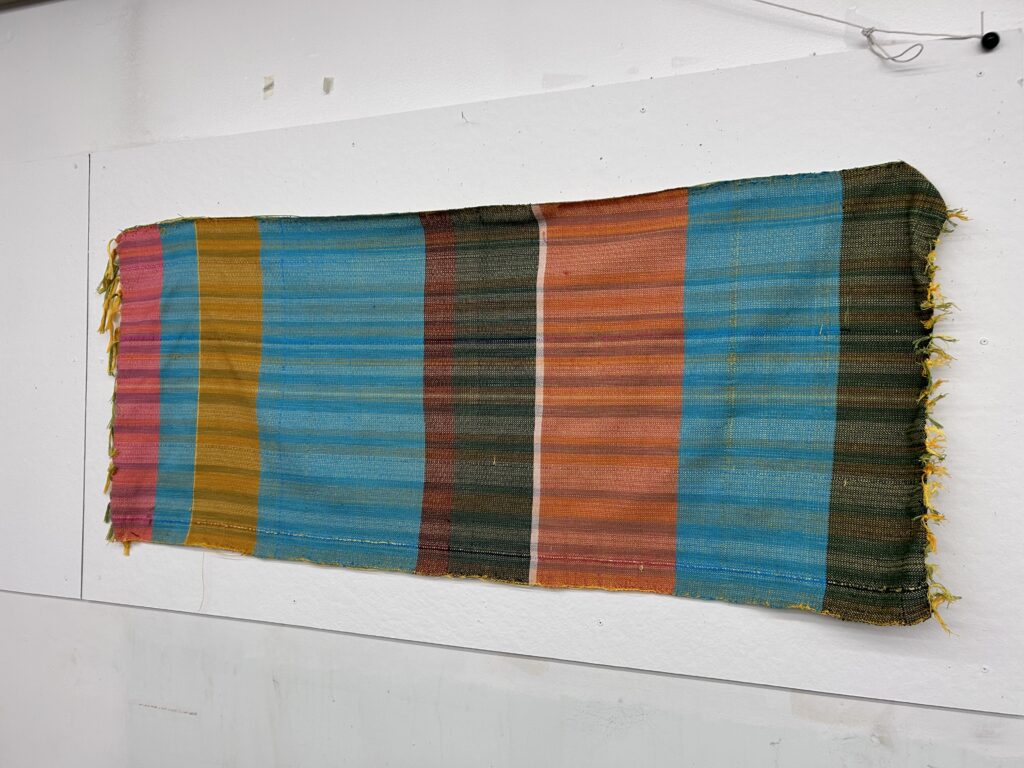
My original intention for this fabric was to weave a really long sheet on a loom and use it to sew little purses and bags. I imagined almost “forest-ish” colors, such as deep orange, dark green, and a pale yellow for my weft. I wanted to weave in brown and beige colors and have a soft look to it.

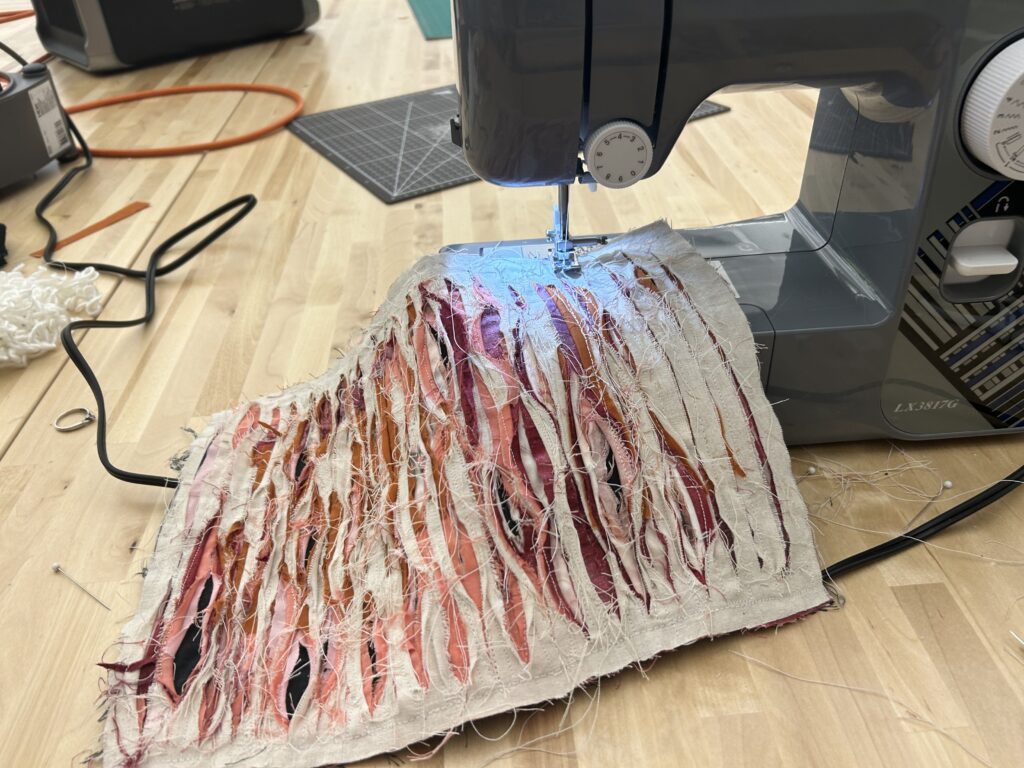
I had to start out by measuring yards upon yards of threads for my warp , and spending hours in the weaving studio spinning them into the perfect measurements. I then took them to the dye studio, where things quickly felt more complicated. I had to mix the appropriate amounts of each dye with other chemicals in order to get the colors I wanted, and I had never dyed anything besides my hair.

When I finally got the bundles of threads into their respective dye buckets, I felt confident. The colors looked dark and moody, exactly what I wanted! I let these colors sit longer than the yellow. The yellow seemed like if I just pulled it out quickly it would be the lighter yellow I wanted.

The above photo was the result. I was embarrassed. These look straight out of a lemon lime ad. They looked citrus themed, far from what I ever wanted to work with. Far from anything I even care about. I was stuck on how I could make this work. I turned to a color palette generator, and put in the colors I had created in the fibers. The computer gave me a variety of different colors that could work as the weft. I decided to turn the cloth into an experimental project. At random intervals, the fabric would have a new colored weft.

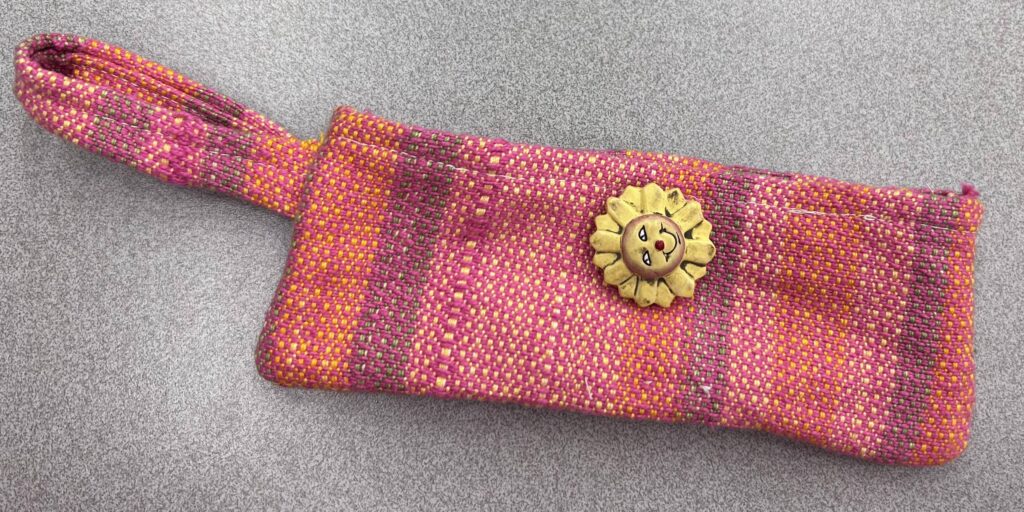
Shifting gears with this project is what I believe really saved it. I ended up loving the end cloth and was able to use ti for the small bags that I wanted to use it for, as well as reupholstering a vanity chair. Weaving is always a rough journey for me, and dying my own fibers made it even harder. I would do it again though, and recommend it to others who would like to try!
See you guys later this week for actual Fiber Fridays!
-Marissa
Below is some of the final products:

Fiber Fridays: Fabric Slashing + Intro

Hello everyone!
My name is Marissa Woods and I am so excited to be returning to Arts, ink. this year as an artist and writer. Last year my content primarily focused on my illustration work and relatable content for students on campus. This year, I am taking the leap of journaling about my fiber arts practice. I plan on posting different techniques i am studying so you readers can learn along side me. This is a great opportunity for me to be able to log my progress over the year, as well as create more community awareness about fiber arts and the various topics I am passionate about.

I am going to cover a variety of topics such as weaving, sewing, embroidery, knitting, crochet, tapestry, etc. I plan to inform you readers on how to do them! My ultimate goal is to teach. Occasionally I’ll have free patterns uploaded for you to try on your own at home. I encourage you to become involved with fibers, it can be a great outlet and art form.

Our first topic, fiber slashing! (Sewing). I love the texture that this technique beings to the fabric. I am a huge fan of frayed ends and loose threads. This specific piece in the image was inspired by the women’s reproductive system. I am currently taking a women’s health course, which has majorly broadened my perspective. Feminism and fiber arts go hand in hand the more you look into its history. I will write more on this topic later!

In order to to do this technique on your own at home,
1. Lay 1 piece of fabric down
2. Lay a billion different little scraps of fabric on top of the first piece.
3. Layer a top piece of fabric, the same size as the first piece.
4. Sew with a machine around the border of your fabric sandwich, locking your inner fabics inside of a closed pocket.
5. Sew up and down, equally spaced apart, about 1/2 inch. (The wider the stitch gaps, the more fabric will come out when you get to the slashing. A smaller width can make it too small to get the fabric to pull up and out of the slash.
6. Using a seam ripper, CAREFULLY! rip into the top layer of fabric in the in between spaces. Be sure not to accidentally rip all the way through your back panel. If this happens, you may add additional stitching by hand on the back to re-form the support layer. Experiment with ripping into different layers of the fabric, instead of staying at the same depth!
7. Go crazy! Pull as many fibers as you would like to be frayed or pull out which specific colors interest you the most!

I hope everyone enjoyed this week’s first post! I am so excited to continue sharing my practice as well as educate about fiber arts! See you next Fiber Friday!