Fiber Fridays #9

Hello everyone!

Due to technical difficulties, I am posting this a few days late, but nonetheless, I have fibers for you!!
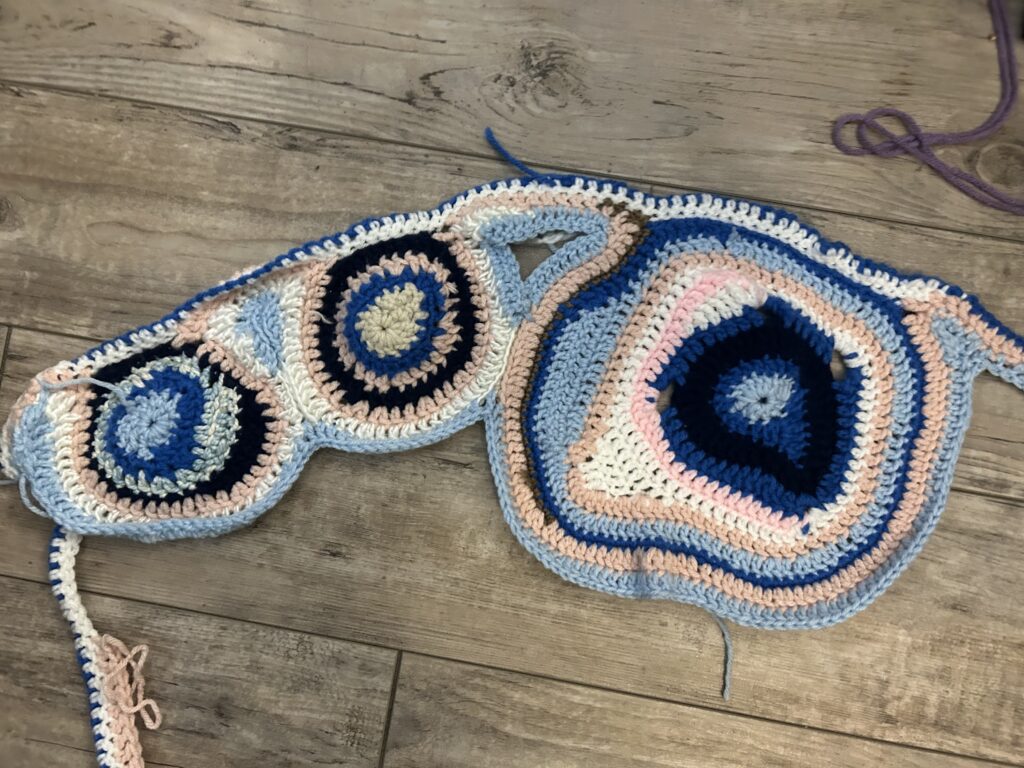
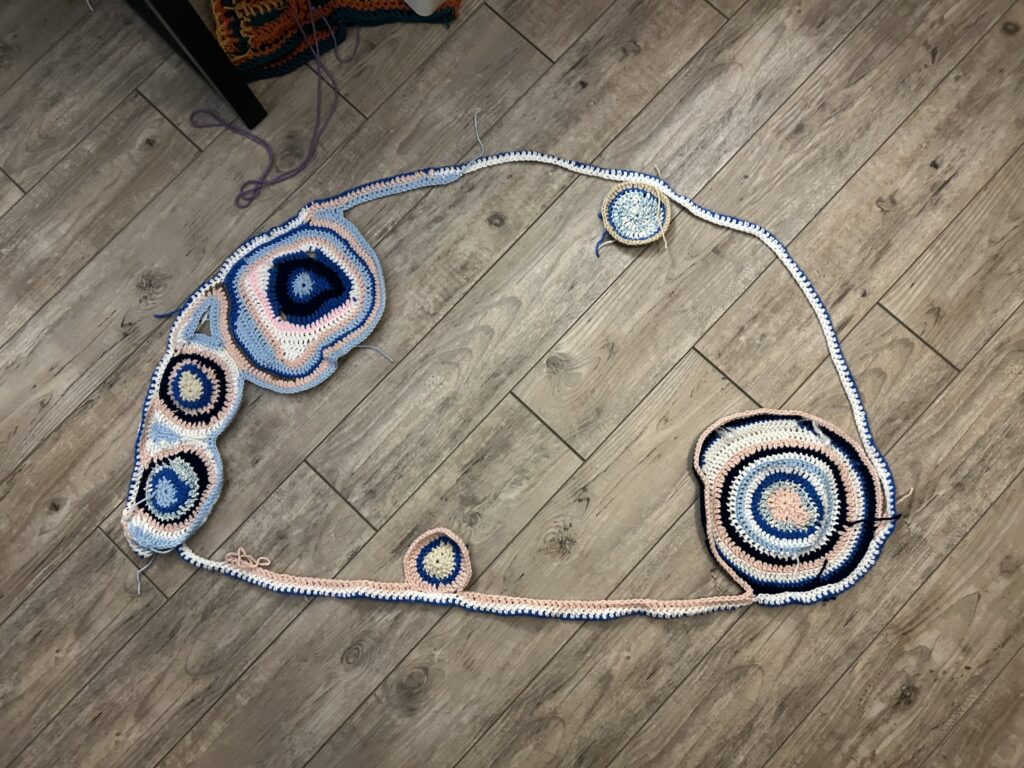
This week I worked on crocheting a opossum. I am working on crocheting things for myself, as I usually make my crafts for someone else. I thought it would be cuter and silly to work on a crochet opossum. I didn’t follow a pattern for this one, I have just been free handing him as I go. I am stuffing him with fluff from an old pillow that I don’t wan to use anymore. I think that when it is finished it will be super cute. I will upload the results next week!

I started off this little guy with ch 4 (starting at the nose) , joining with sl st to make a ring. I then crocheted 6 sc and then kind of just kept increasing whenever I felt like he needed to get larger around. When I got to the spot where his tail will begin, I started to decrease my stitches until I get a decently opossum tail sized hole. I then front loop crocheted once around, and then went back to single crocheting the rest of his tail. I stopped when I felt it was long enough. I stuffed him so much he’s extremely stiff. Stay tuned for the rest of his transformation this upcoming Friday! I have been working on some really cool fibers projects that I am super excited to show everyone when they are finished.

See you next week!!
Marissa

Fiber Fridays #8 Sewing Exploration

Hello everyone,

This week I have been working on exploring sewing through by fiber structures course. I have learned so many new techniques and find the course exciting. Our current assignment, we have been tasked to explore muslin as a material with the machine. I am not the greatest at sewing as I have just learned how, but I am excited about the different possibilities it might bring to my practice.

In my explorations, I decided to work with different techniques such as quilting and creating patches. I plan on completing the rest of my explorations this weekend, including techniques I have discussed in my prior blog posts such as fiber slashing. I really enjoy how the fabric can be dyed to whichever colors I want. I found dying the fabric very time consuming. It takes over an hour all together to measure out the dye formula, and soak the fiber in the dye. It then needs to be hung to dry completely before use. I think that I personally enjoy the way just the plain muslin looks when layered on itself, but I do intend to dye more of my fiber work in the future.

Here are some of my explorations below !

See you next week!

-Marissa

Fiber Fridays #7: Applique (Sewing)

Hello everyone,

I am taking a fiber sculpture class, and I had no idea what I was getting myself in for. Why did I assume I would be hand sewing or crocheting different sculptures I would come up with? Turns out it’s a sewing course. (I was freaking out!!) I know how to sew from a pre-college fashion sewing course I took at Academy of Art University in San Francisco during high school. (Although, not very well, and not on the monstrous sewing machines they have at Stamps.) I was still worried. Never have I had to sew for an actual college course and I had no idea what that entailed. I have learned that it is fast paced, and high expectations are set. I find that to be a really great motivator for me and enjoy how quickly we are making things.

This week through that course I learned how to sew patches onto fabric. Listen, I know they aren’t very good, but it was my first try! I had a lot of fun trying them out and that is what matters. I had about 30 minutes to complete all three examples. I cut all of the shapes that I wanted out of different colors of scrap fabric. I thought flowers would be a cute and somewhat challenging shape to do so I went for it.

See you next fiber friday!

-Marissa

Fiber Fridays #6 : Sentro Knitting Machine

Hey everyone!

In order to complete my Christmas gifts for family members this year, I invested in a Sentro knitting machine. This is going to be my honest review of the machine and what it can and can’t do.

I purchased the 48 needle machine knowing that the majority of the crafts I would be making for Christmas would be using the tube setting. This ended up being a really easy and intuitive setting on the machine. The machine has little suction cup feet that will keep it planted to the floor or a counter top while you crank the handle. I was able to hang out with my partner and watch television while I worked.

I used a thicker acrylic yarn which the machine seemed able to turn into a really pretty knit fabric. When i had attempted to use a finer self-striping yarn (which the machine advertises that it can handle) the stitches were much too far apart for the fabric to be usable. When one uses yarn that is too thick for the machine, the hooks will get caught on the yarn, causing the user to be unable to turn the handle. When this happens, there is damage occurring to the handle. It is important to pick a weight of yarn that will work well with both your project and the machine.

I was able to create many hats that my family members seemed to love which this machine. When I had ordered the machine from amazon, it came with four different sized puff makers, a few skeins of yarn, a crochet hook and a few darning needles.

This machine sells for around $50 and is a good investment if you see it as something that you might use often. Keep in mind the yarn weight restrictions and make sure to pick a a machine that has the right amount of needles for the types of crafts that you would like to create.

I personally really enjoy it and think it makes crafting really efficient and more relaxed.

I hope this review helped anyone in their decision!

See you next week,

Marissa

Fiber Fridays #5: Arduino + Processing

Hey everyone,
This week I am super excited to show you a sustainability + ecological project I and my partner Yueshan Jiang have been working on in my creative coding class for our final.

This semester I have been focusing on how to make my fiber arts more interactive for the viewer. I initially learned how to code using Processing, an artist focused programming language. I learned how to be able to manipulate images, create video games etc. Later in the semester us students were taught how to use an Arduino kit to wire interact art installations.

I’ve had an extremely fun time learning these skills and find them really useful to incorporate into my artwork.

Yueshan and I have created this sculpture together to shed more light on the current global climate crisis and it’s relationship to the ocean.

“Our world is currently suffering a global climate crisis. Our oceans are raising in temperature, killing off sea life. The warming oceans cause thermal stress which causes coral bleaching and infectious disease. Sea levels rising also leads to sediments smothering coral. The intention of this interactive experience is to feel a connection between human and sea life. Intended to be immersive and interactive, this piece promotes human impact on the climate crisis as well as instills empathy for our ocean life. ”

How it works: (Stripped straight from our proposal)
“We will use the ultrasonic sensor to pick up on human movement. The closer the viewer is to the coral, the more violent the wave in the background becomes. The light in the central coral sculpture will turn a threatening color. Audio will increase causing the viewer to feel tense. As the viewer moves away, the color returns calm, as does the visual and audio being presented. This sensor will take this information and send it to the Arduino, which will tell processing how to change the visual. The Arduino is responsible for changing the light colors in the sculpture. “

I recently declared a minor in geology and the earth is becoming ever more important to me. I appreciate all the work that Yueshan has helped put into this project, taking on primarily the coding aspects.

That’s what I have for this week, I excited to show you next Friday some Christmas gift crochet ideas!

-Marissa

Yueshan’s Instagram:
@jyueshan_

Fiber Fridays #4: Freehand Crochet

Difficulty: Hard

Hey everyone!
I have been so busy as of late working on a super big crochet project. The Stamps undergraduate exhibition deadline is coming up and I am binging a bunch of Gen Z podcasts and crocheting nonstop. The theme this year for the exhibition is “resistance”. I want to save getting super into the meaning of my project in February, after the exhibition.
This week, since I am doing so much freehand crochet, I figured that I could show you some of the process work, and try to give as many tips and tricks as I can. In order to under stand how to freehand crochet, one must know how to read and execute crochet patterns. Knowing how these patterns form and hope the stitches interact with one another is extremely important in developing your own design with no instruction. You must have a strong grasp on how increasing and decreasing stitches can affect your work. You also might need to know how to sew depending on your design, or learn how to mattress stitch panels together. I would recommend that you know how to crochet in the round.

On the most basic level, what I am trying to achieve physically with this piece is a stylized rendition of a geode. I am a geology minor and like to incorporate that interest into my work. You can start out your freehand crochet however you’d like, but since I know the general shape of the form that I want, I started with an outer border and worked my way in. I am using scrap/ reclaimed yarn/ donated yarn to create this piece. You can see in the picture below the general idea of where i’m going with this.
I’ll post the final piece after the exhibition.
If you have any additional questions, comment below!
See you next Friday,
Marissa