TOLAROIDS: Finale & summer goodbye

The semester has finally come to an end so I wanted to thank you all for following what was my first photography blog of this kind. Maybe you learned something new, whether you’re new to photography or not, or maybe at least you enjoyed some of the photos. I am happy I could share my work and (hopefully useful) tips and I am excited for what the future arts.ink content brings us. I don’t know yet about the next steps of Tolaroids but I will make sure to announce them. As always, I am happy to just chat or answer any questions, so catch me at @akilian.jpg or akilian@umich.edu.


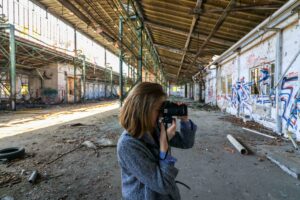
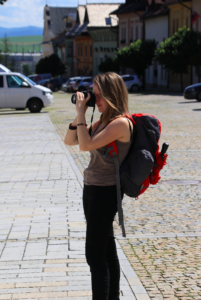
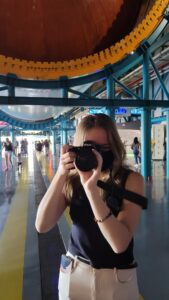
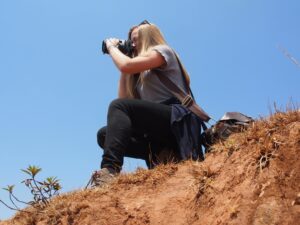
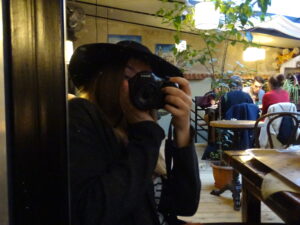
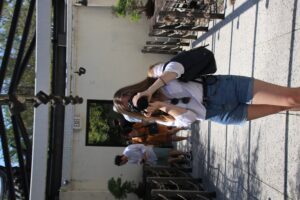
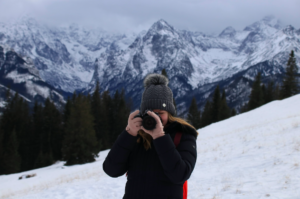
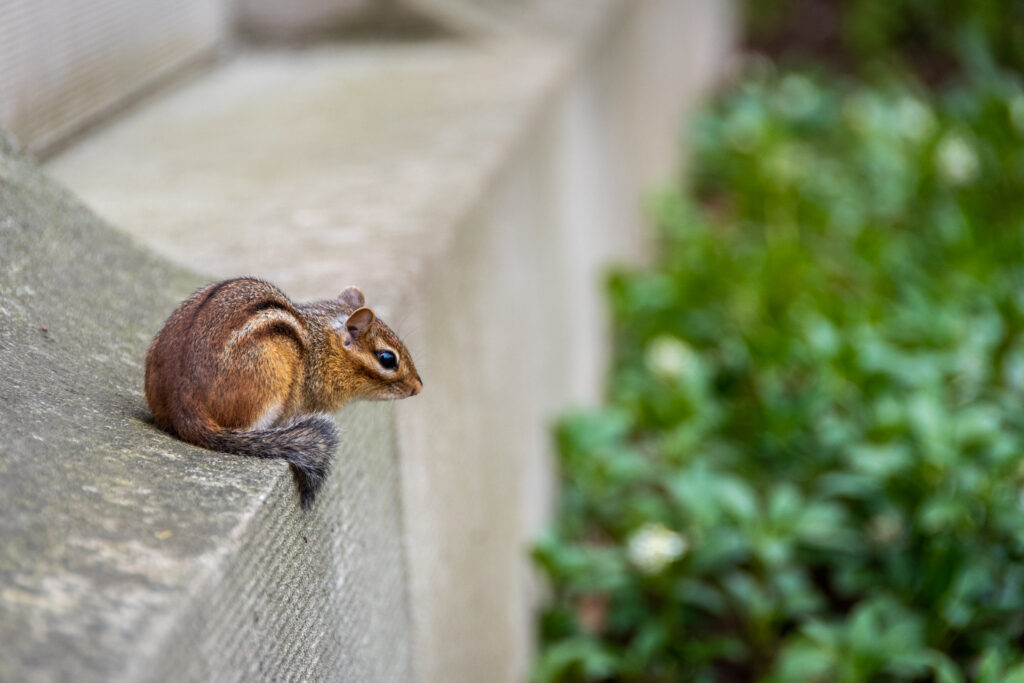
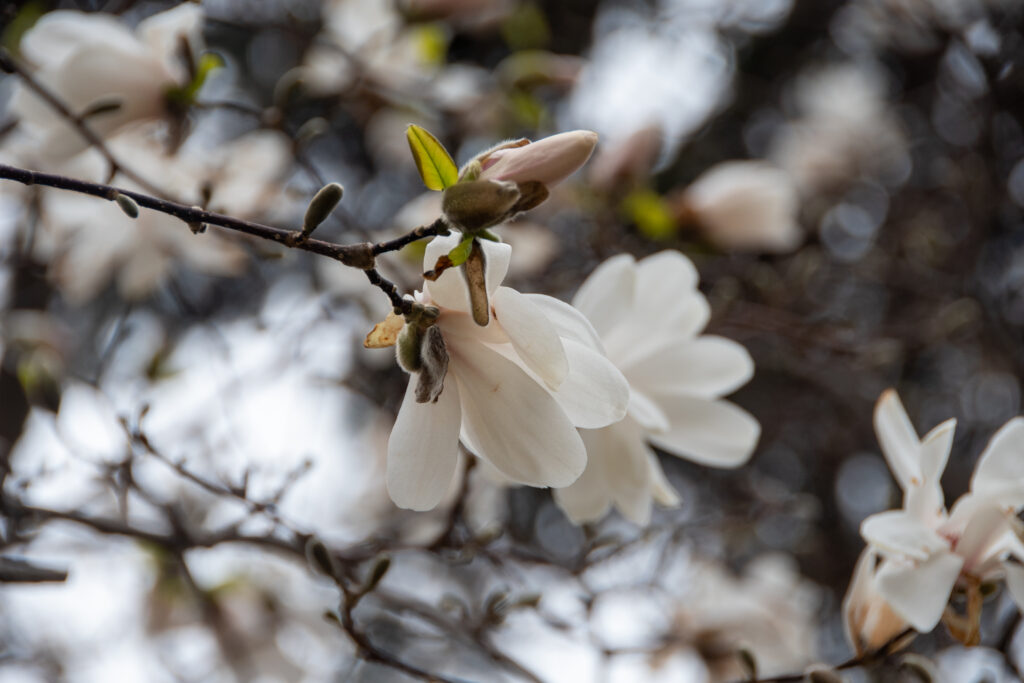
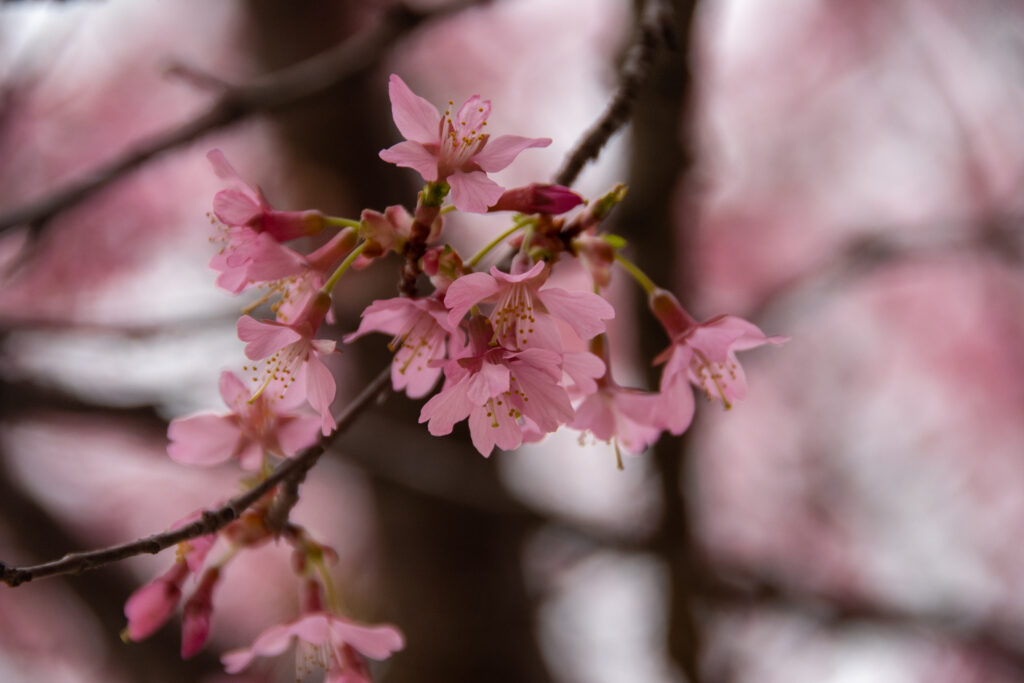
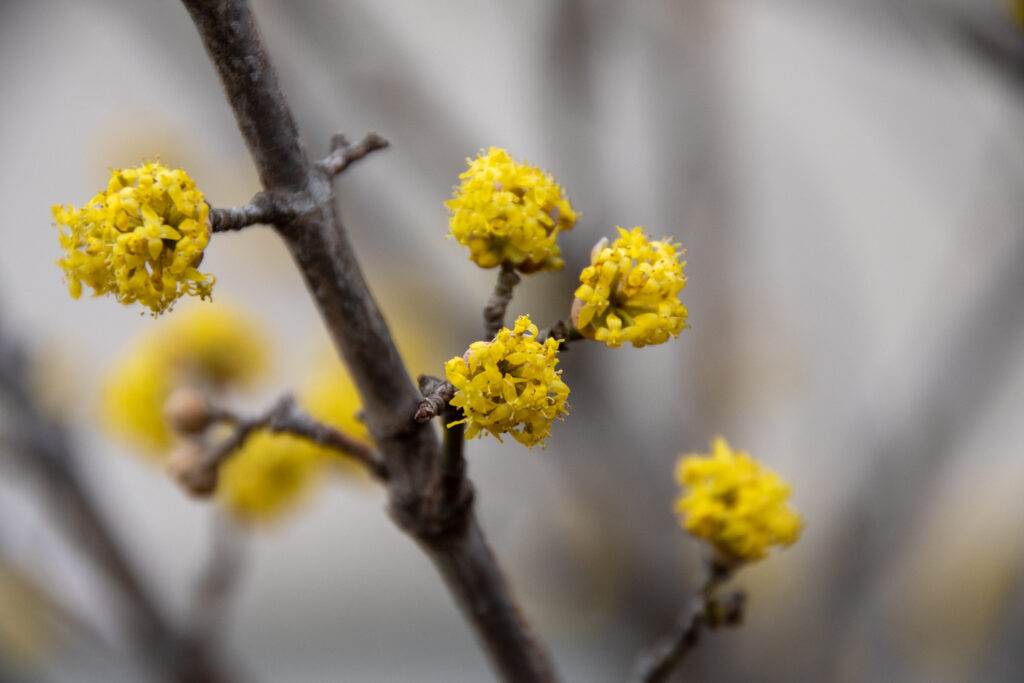
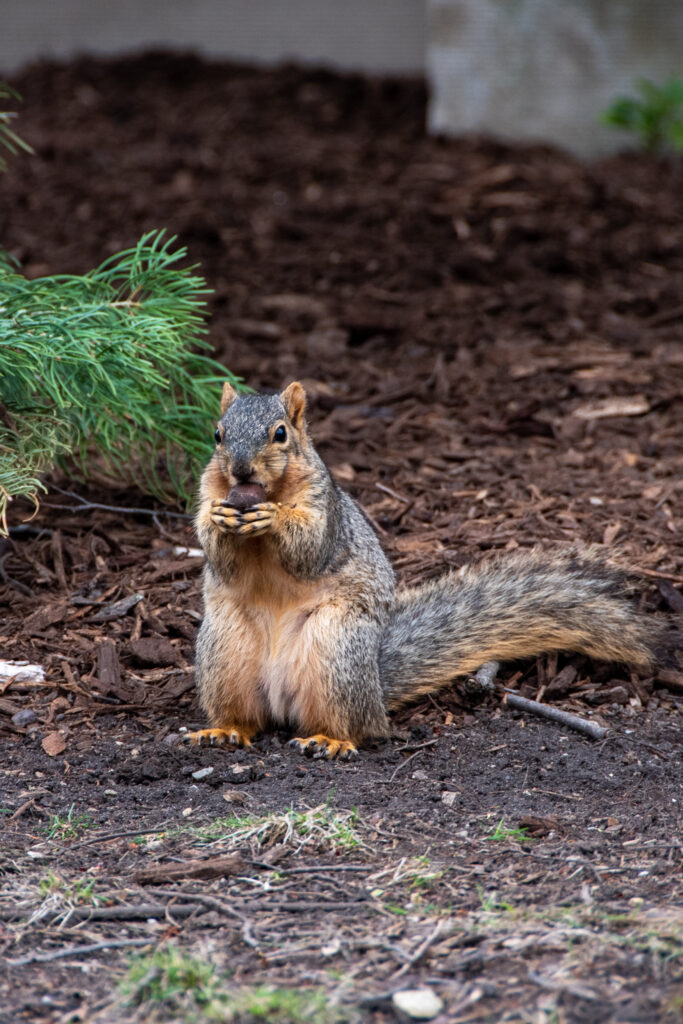
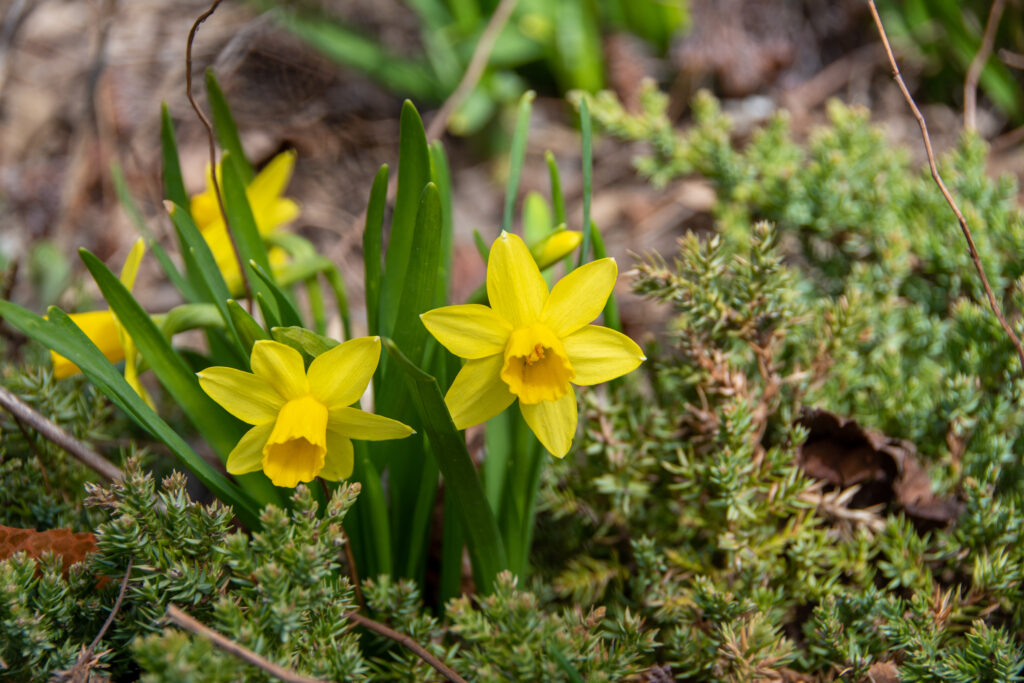
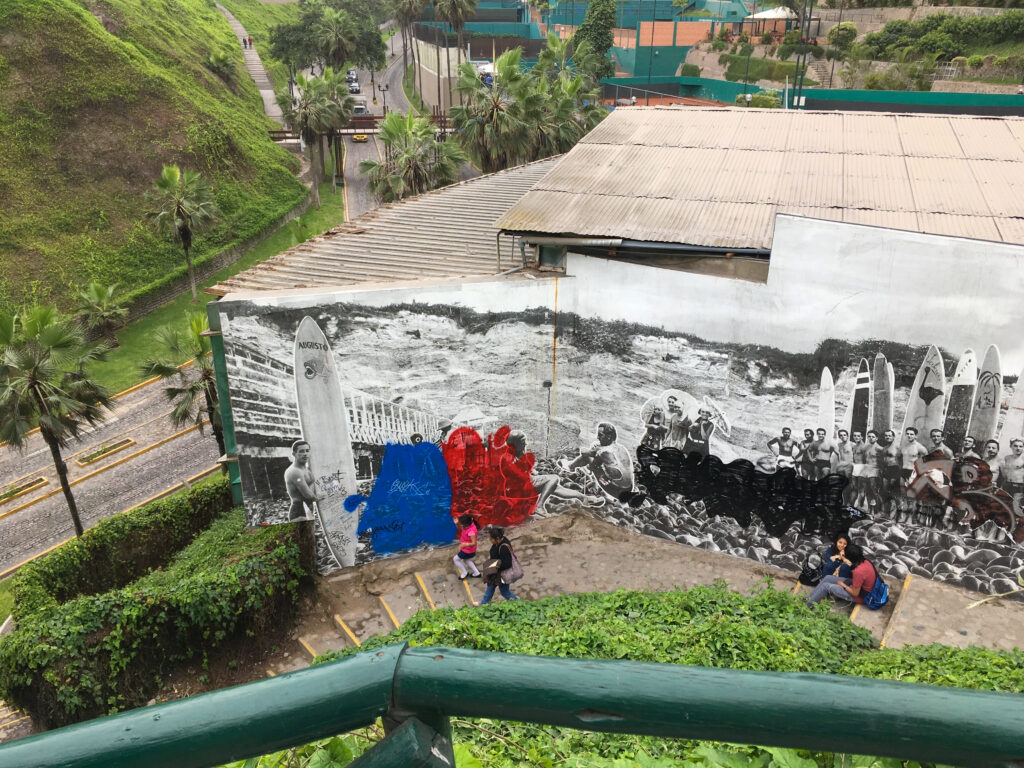
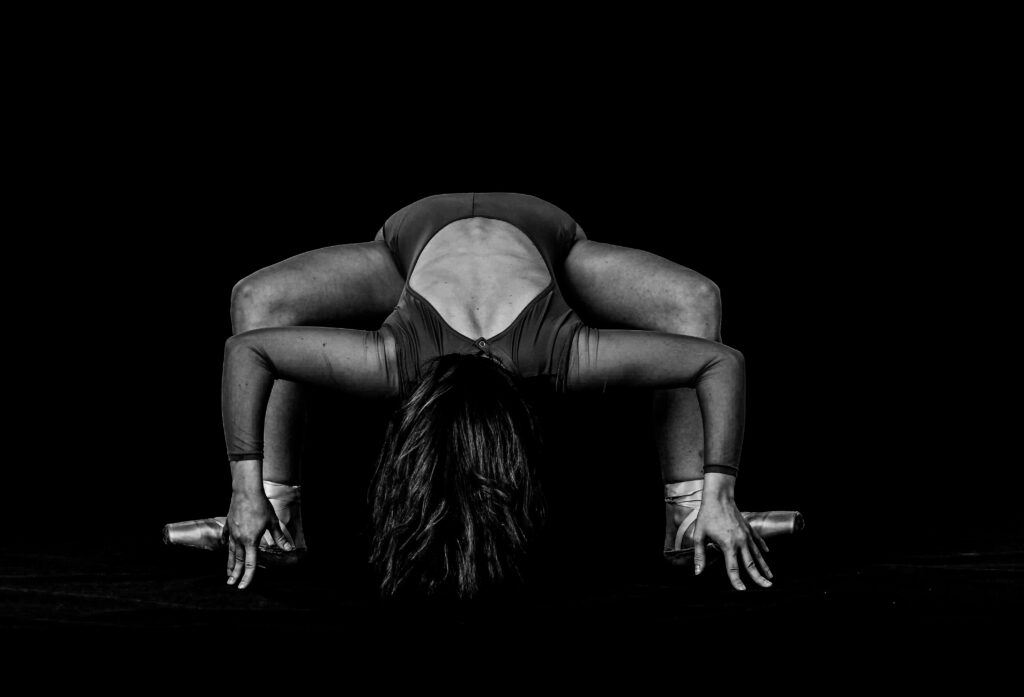
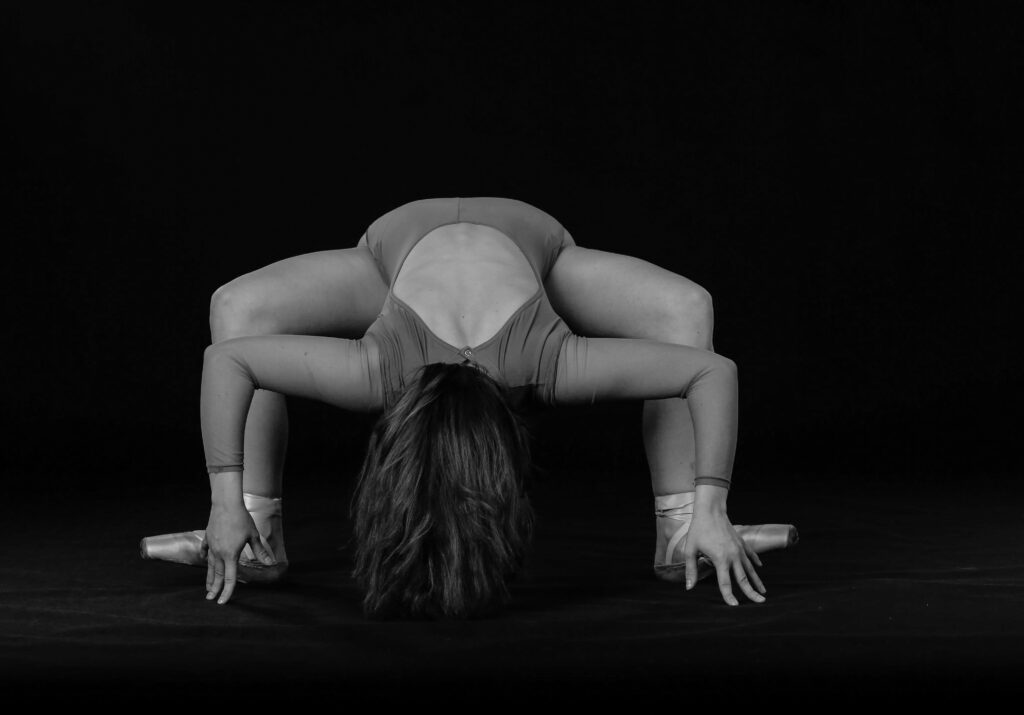
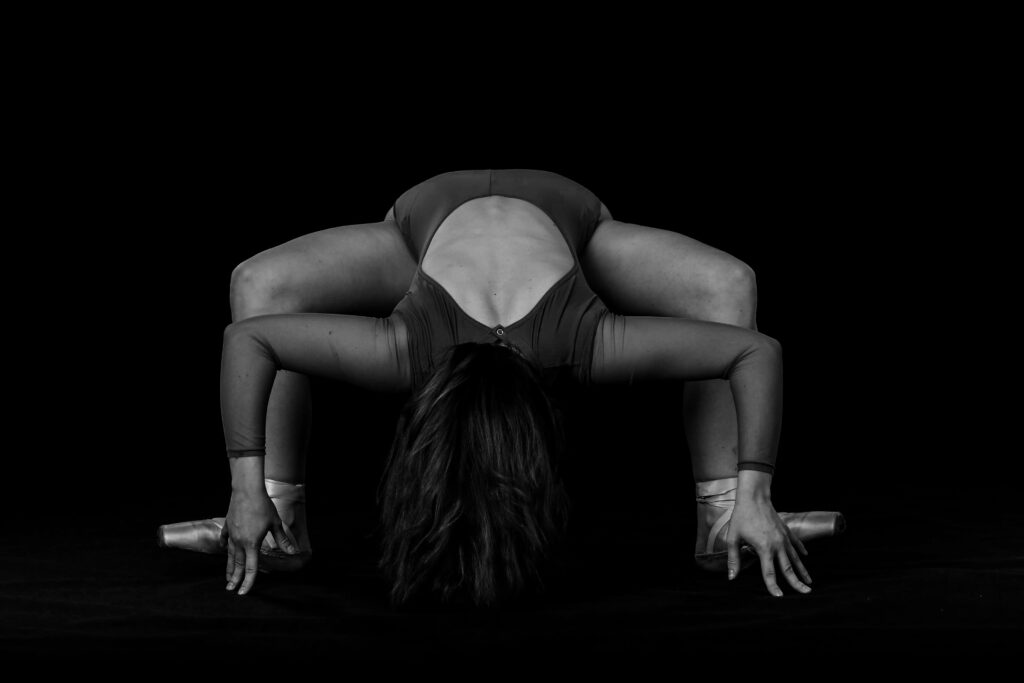
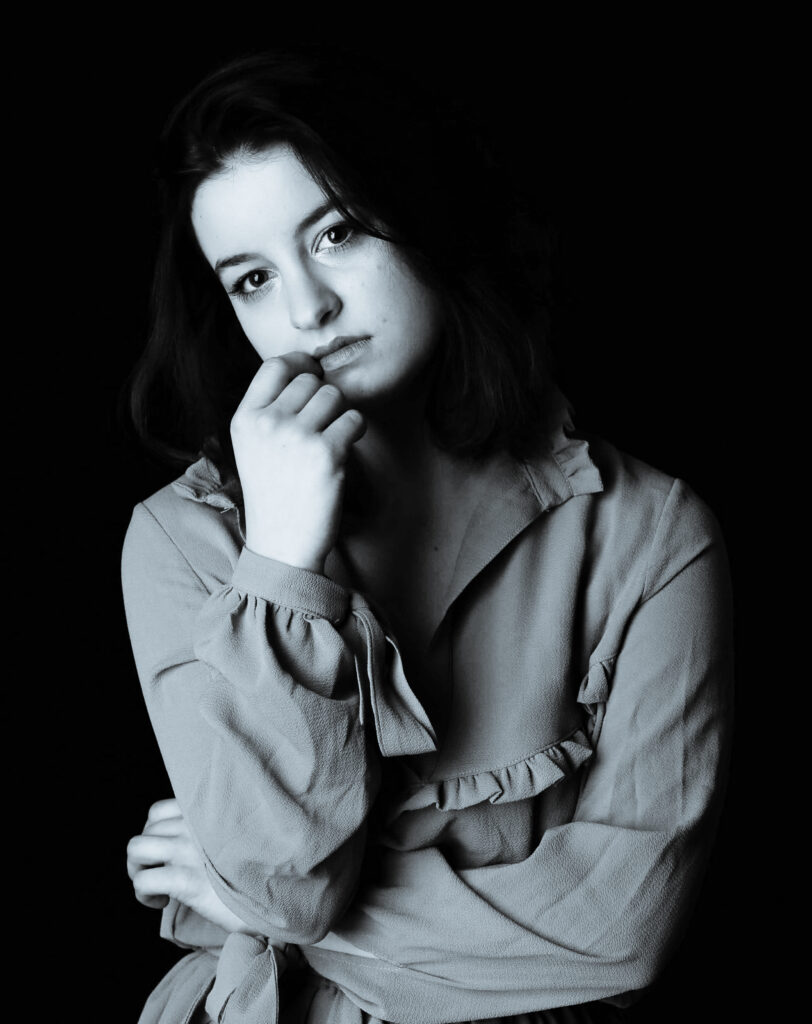
As a farewell photo series, I am sending you all the times you caught me with a camera in my hands 🙂

Have a great summer,

– Tola.


🙂

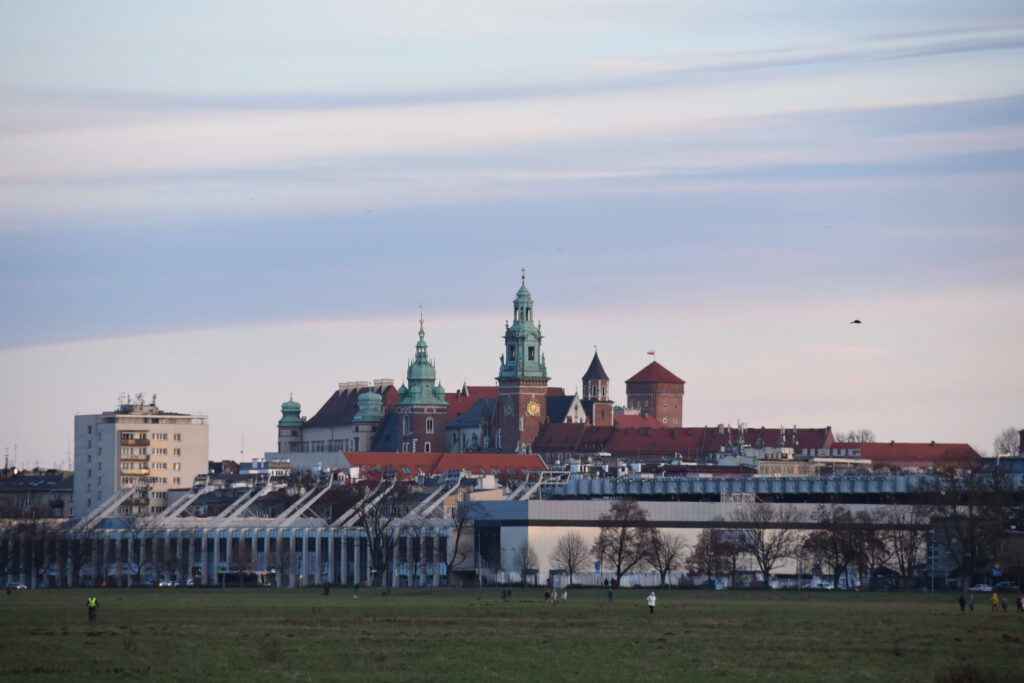
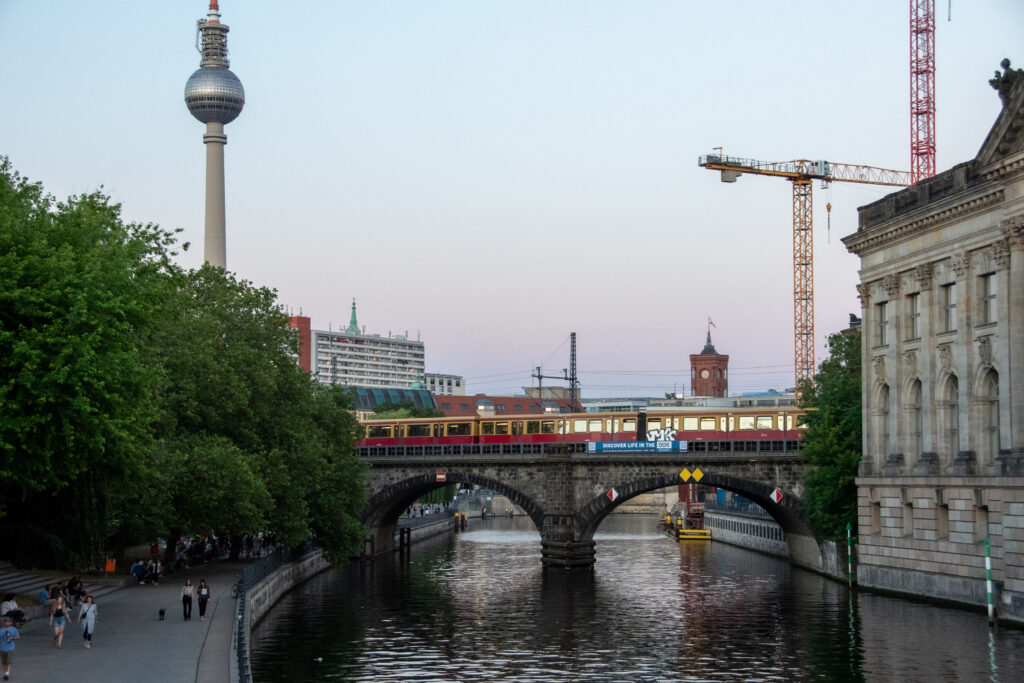
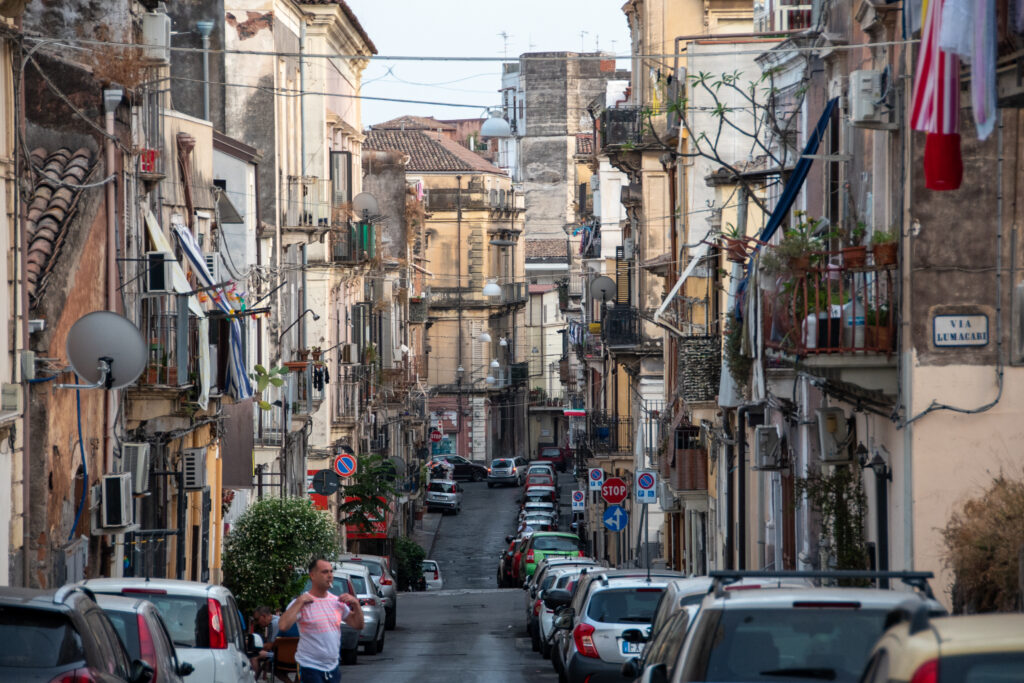
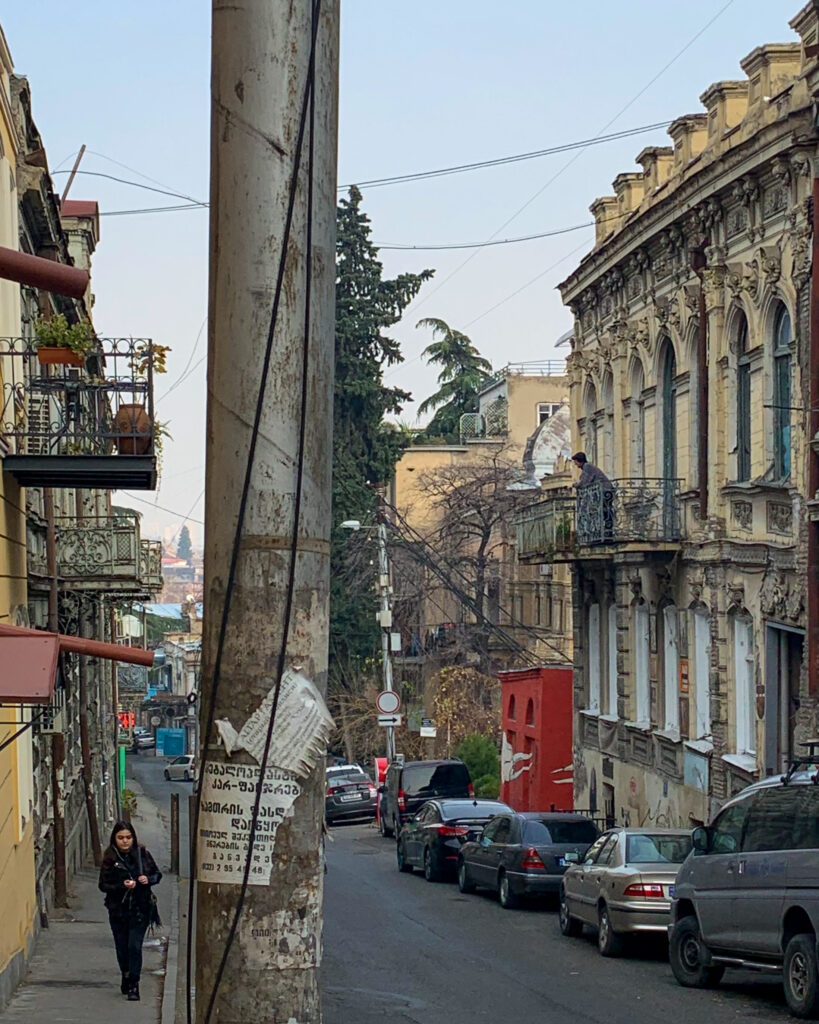
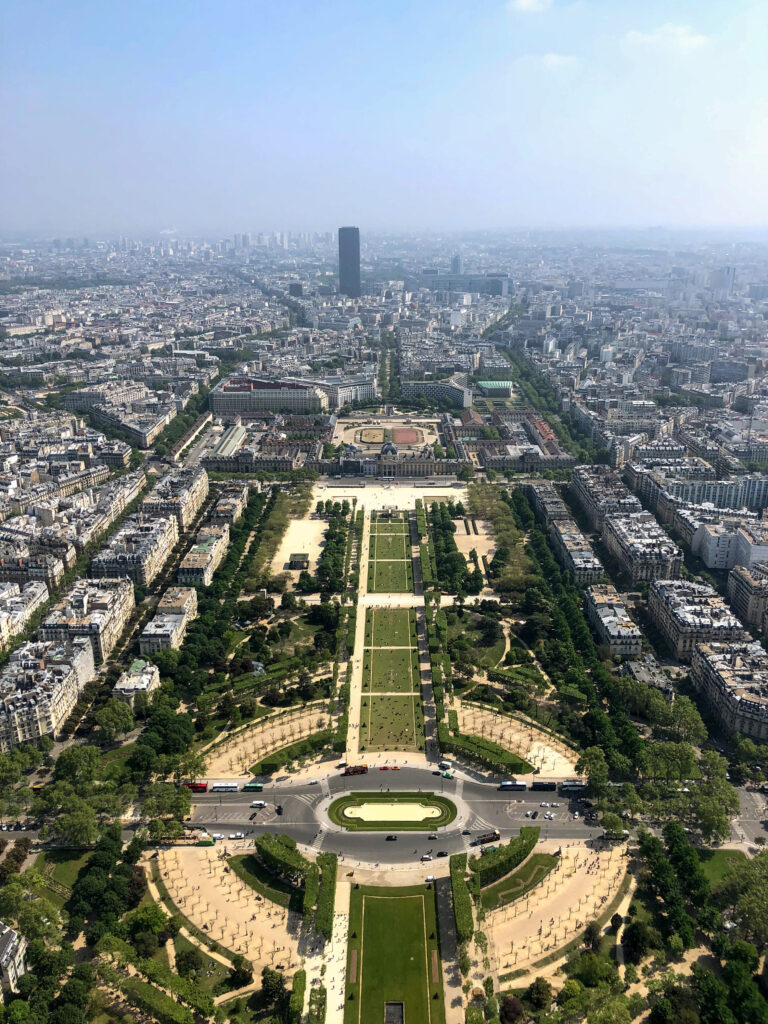
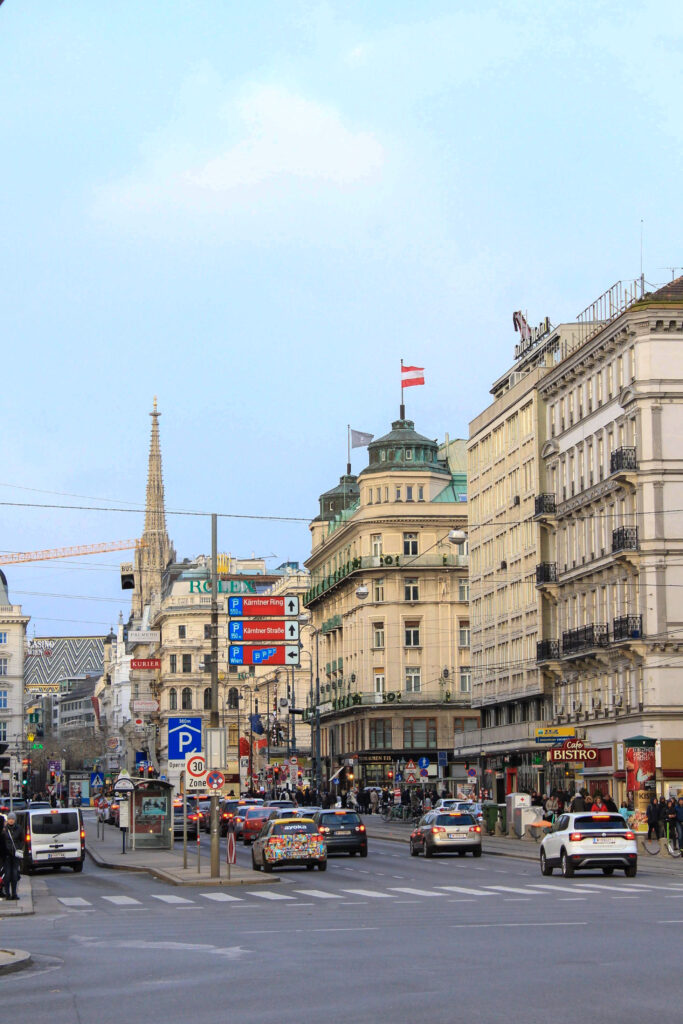
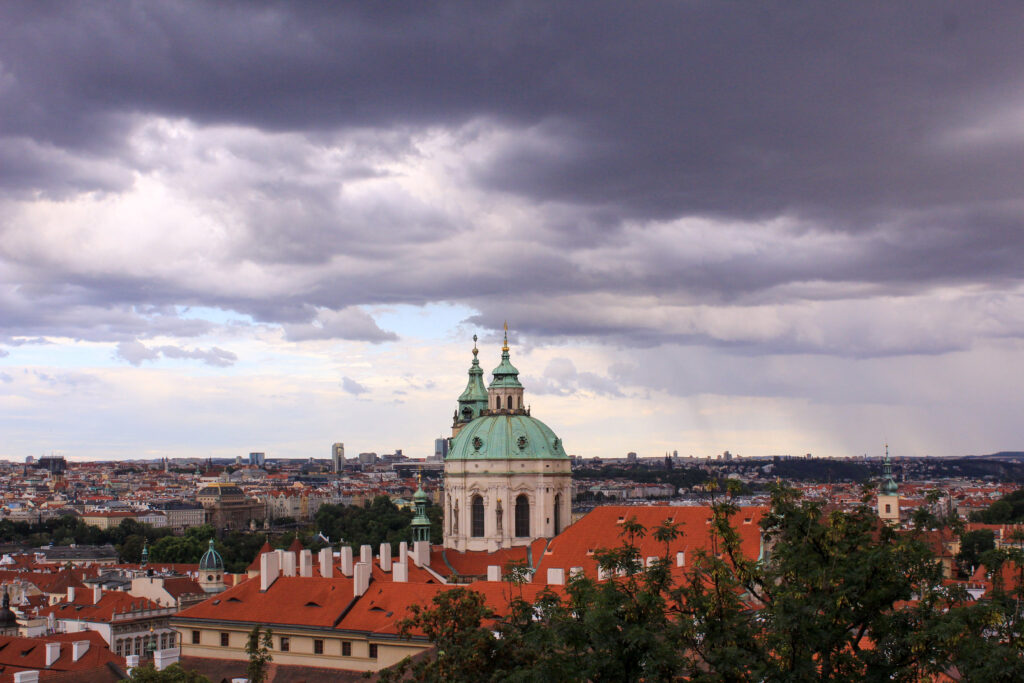
TOLAROIDS: Cities

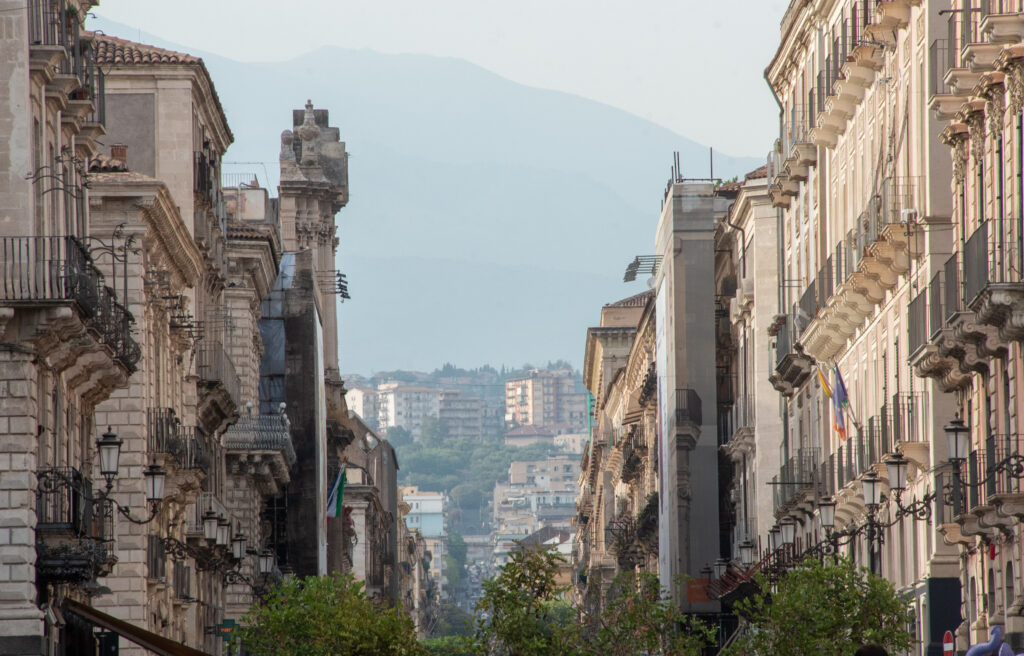
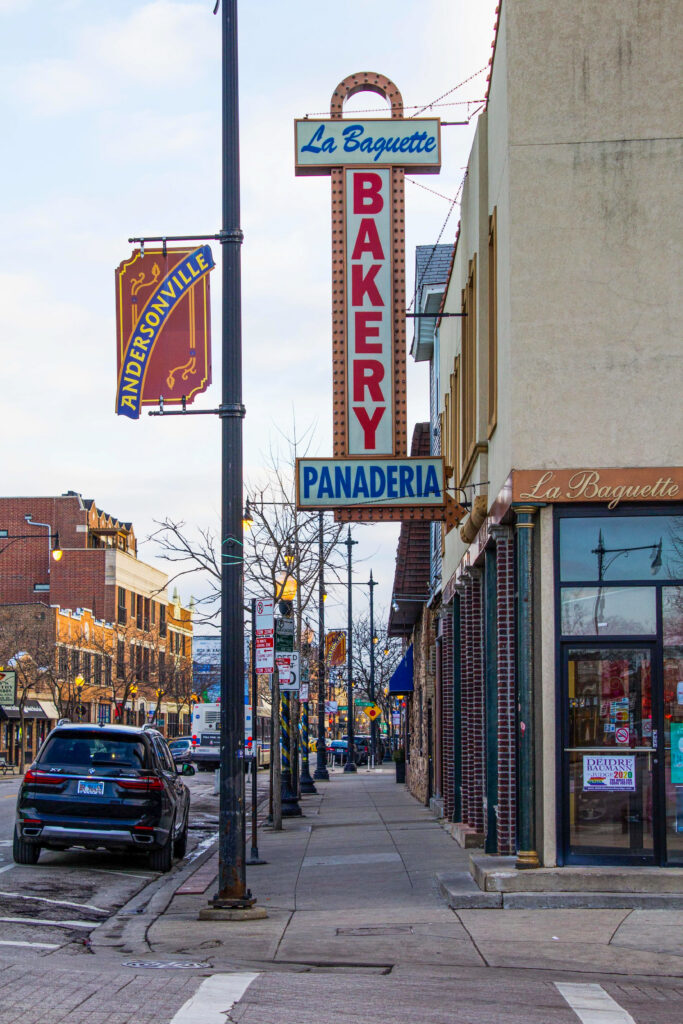
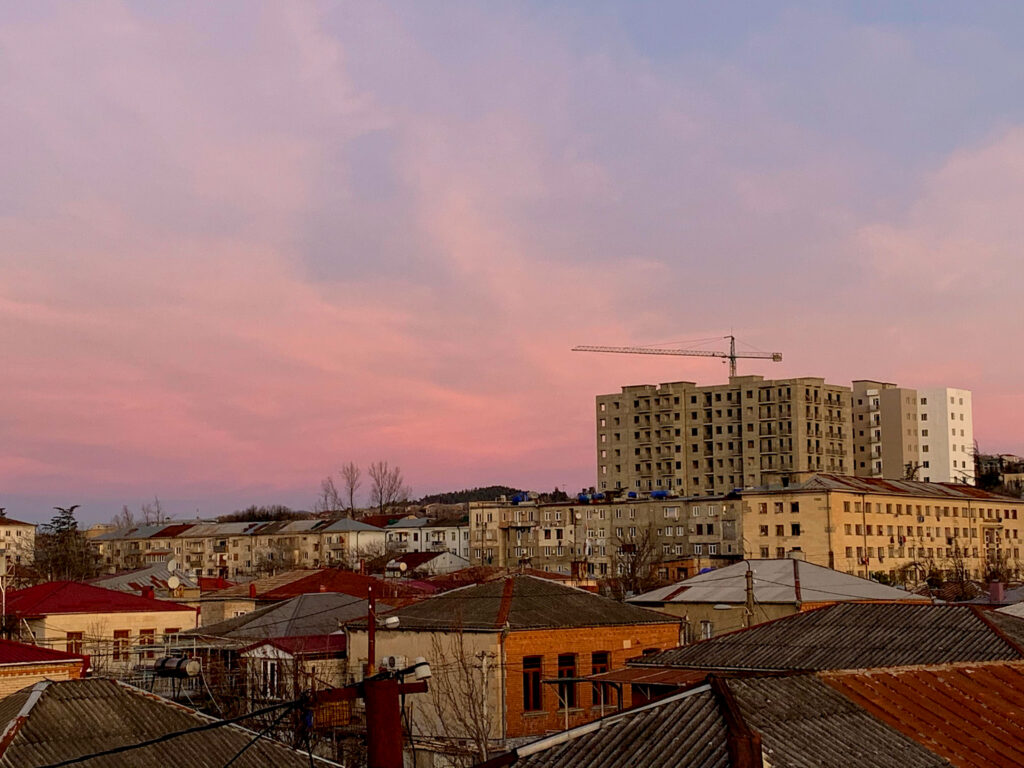
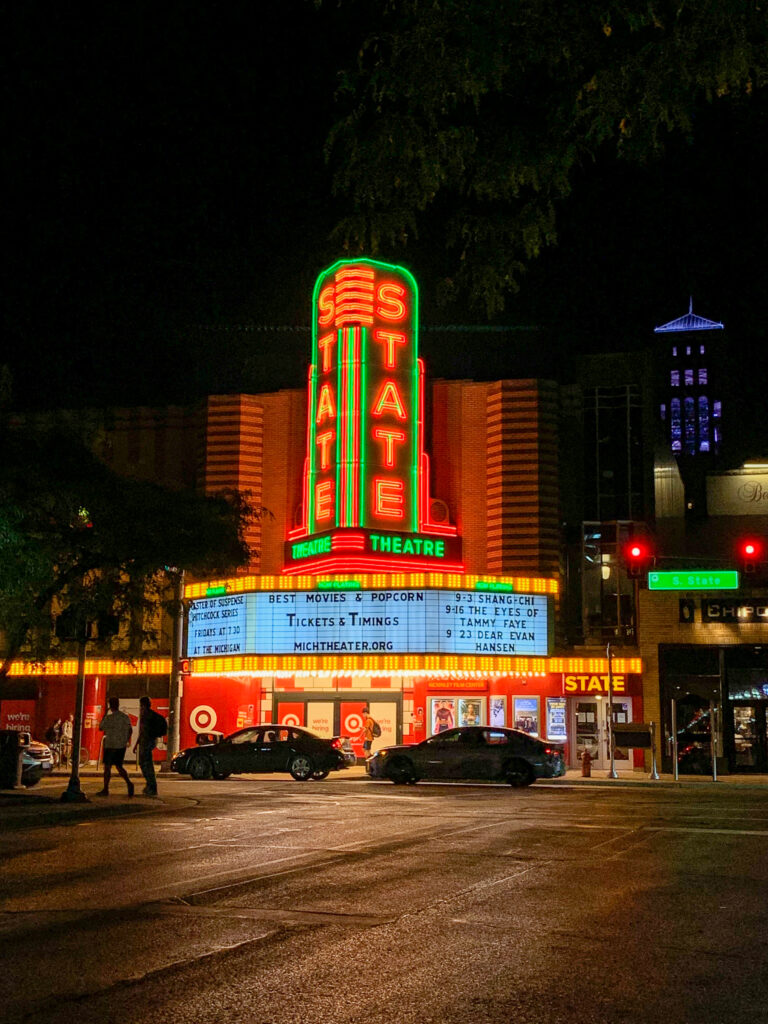
I took the idea from last week and decided to post photos of cities. Some of them will be obvious choices but some will be ones that are more intriguing or less common. I definitely have more I wanted to post but these ones happened to catch my attention today.

Happy finals!

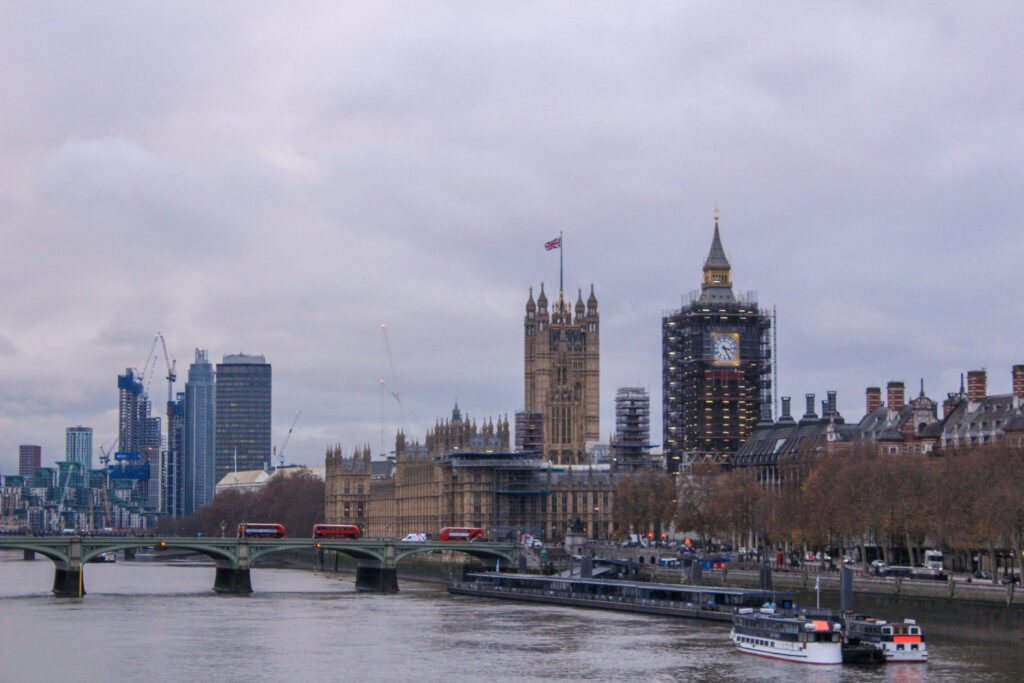
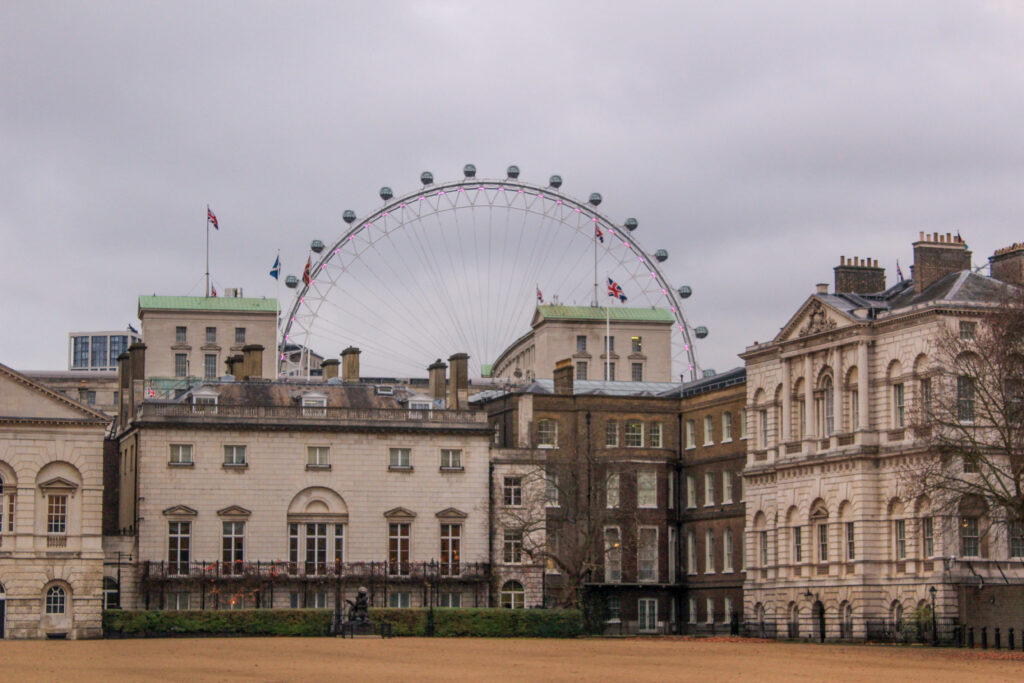
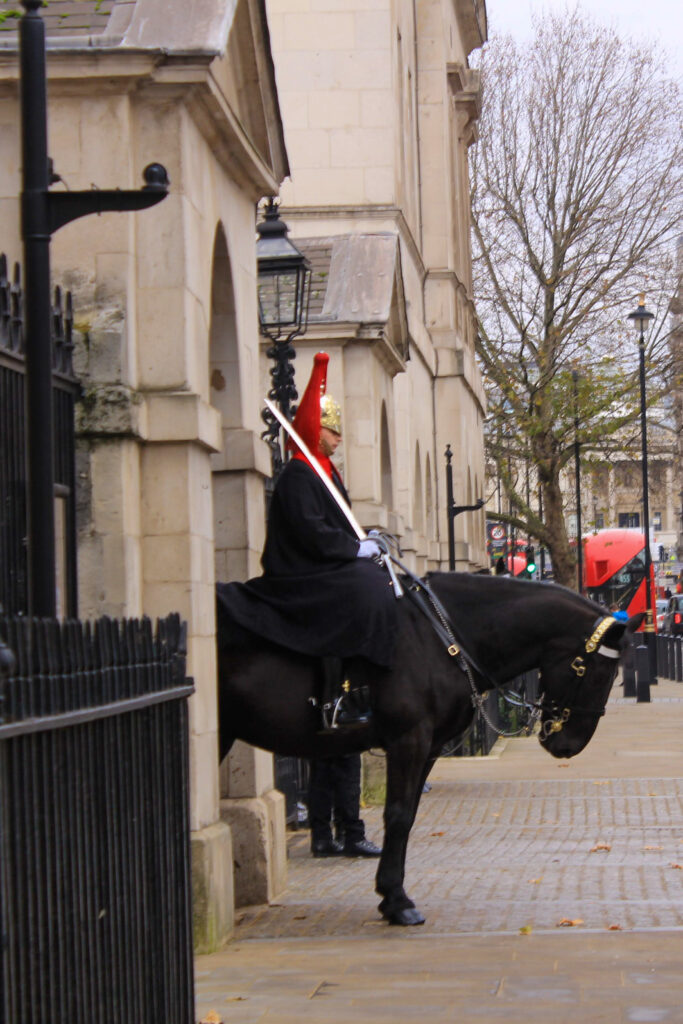
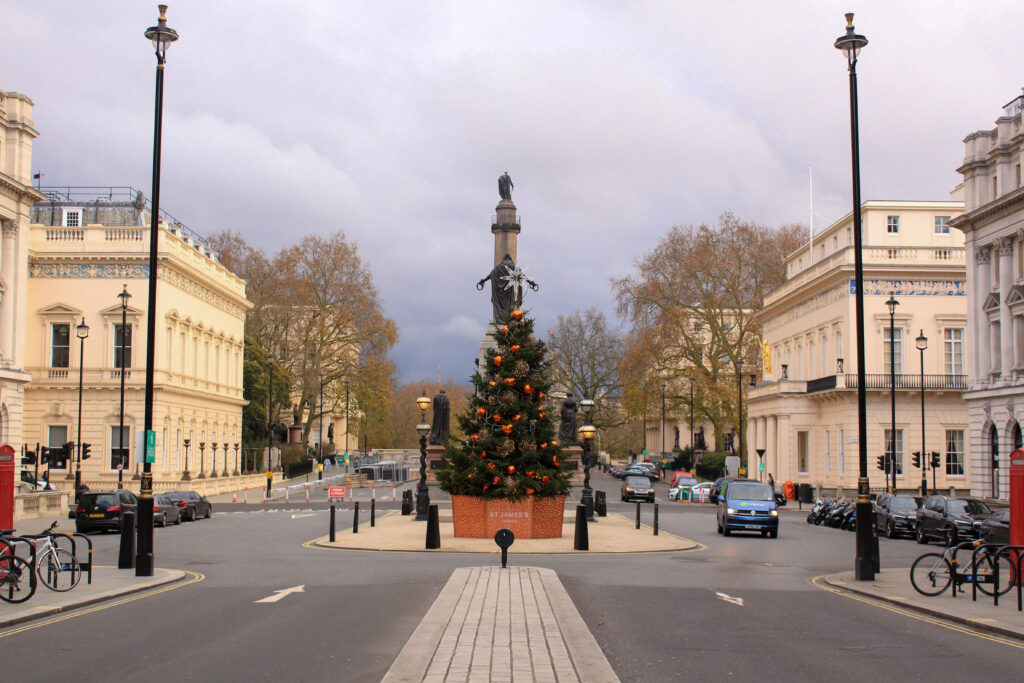
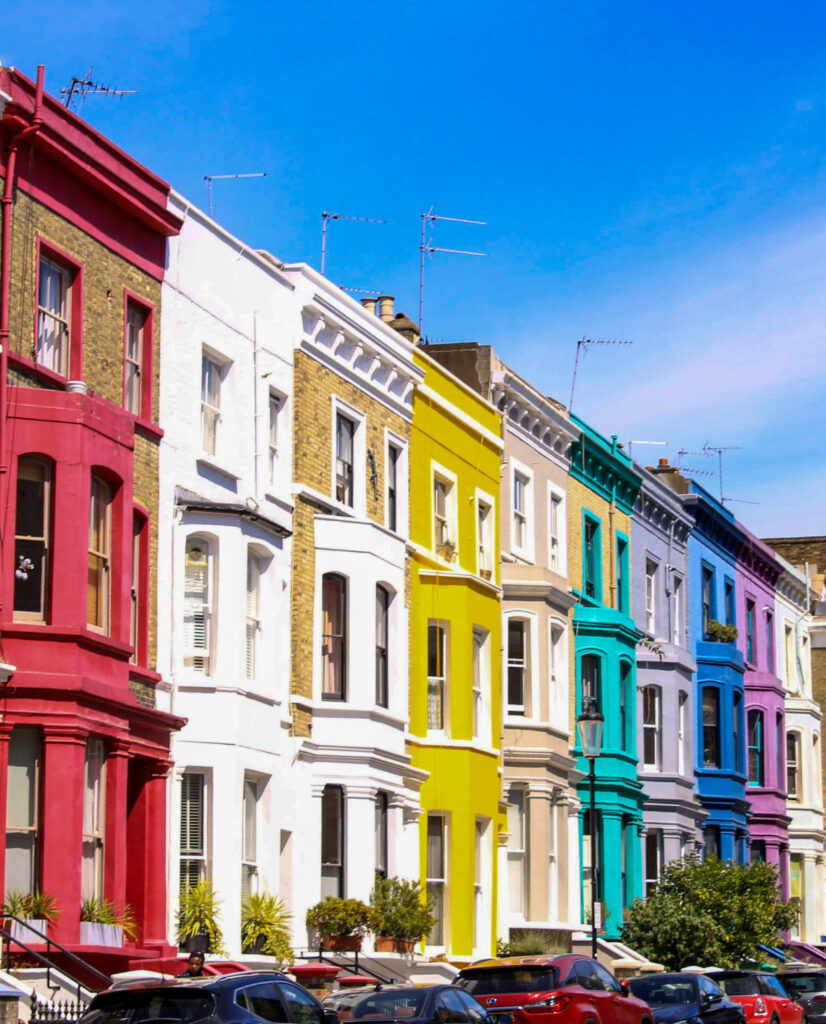
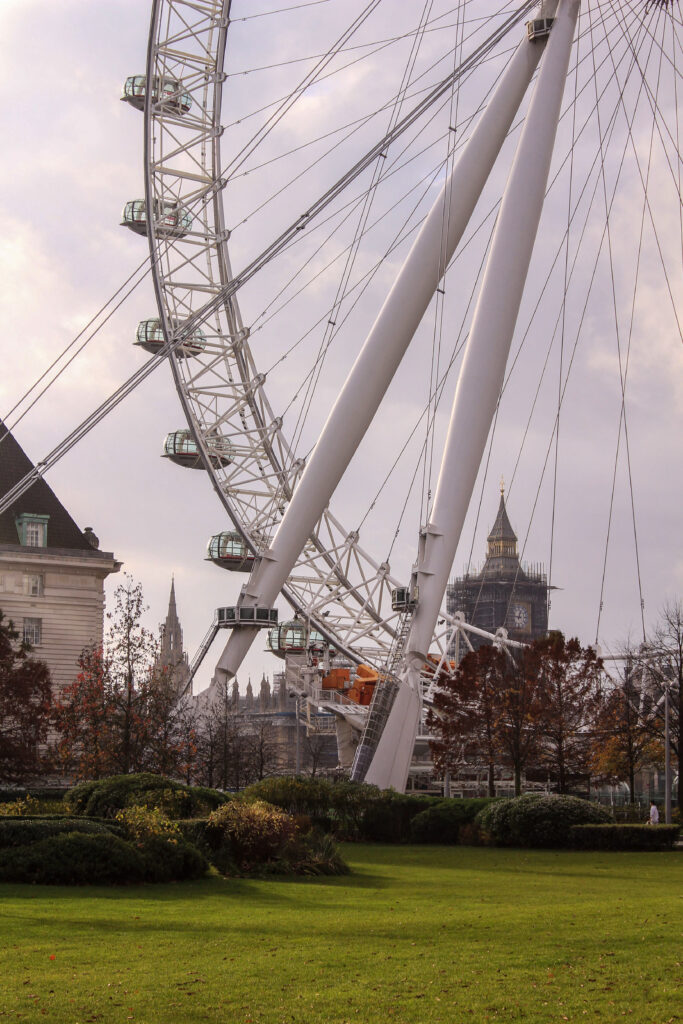
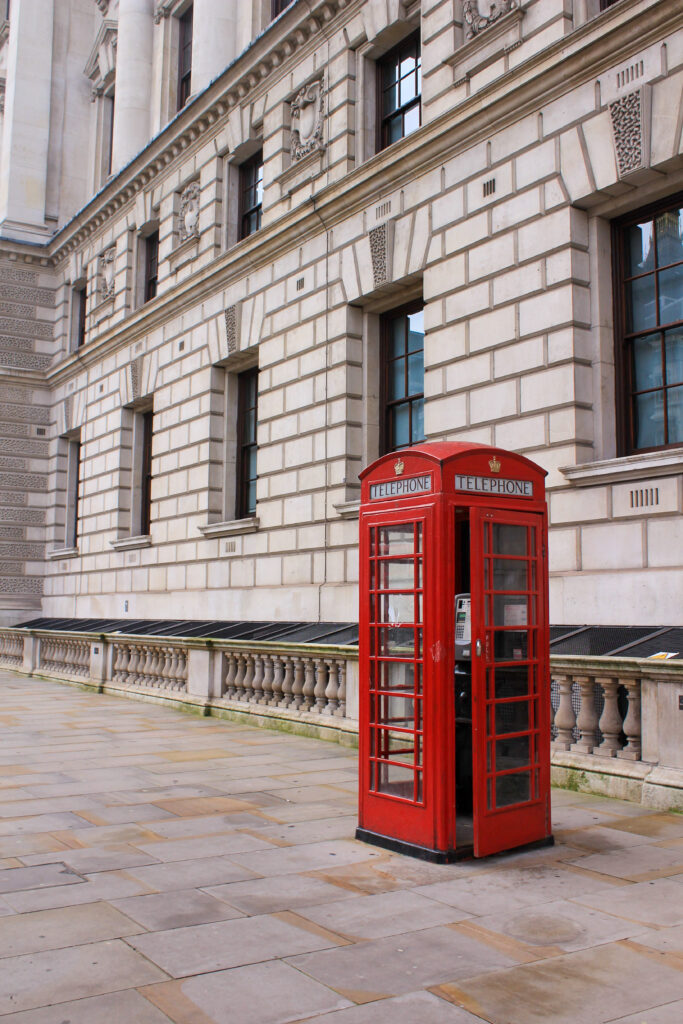
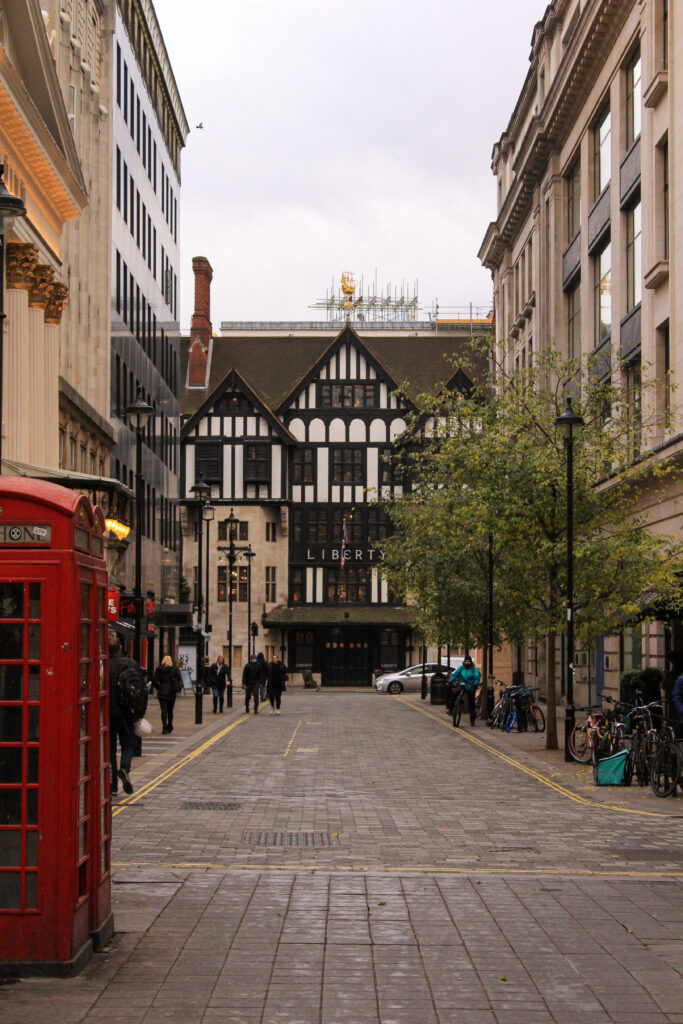
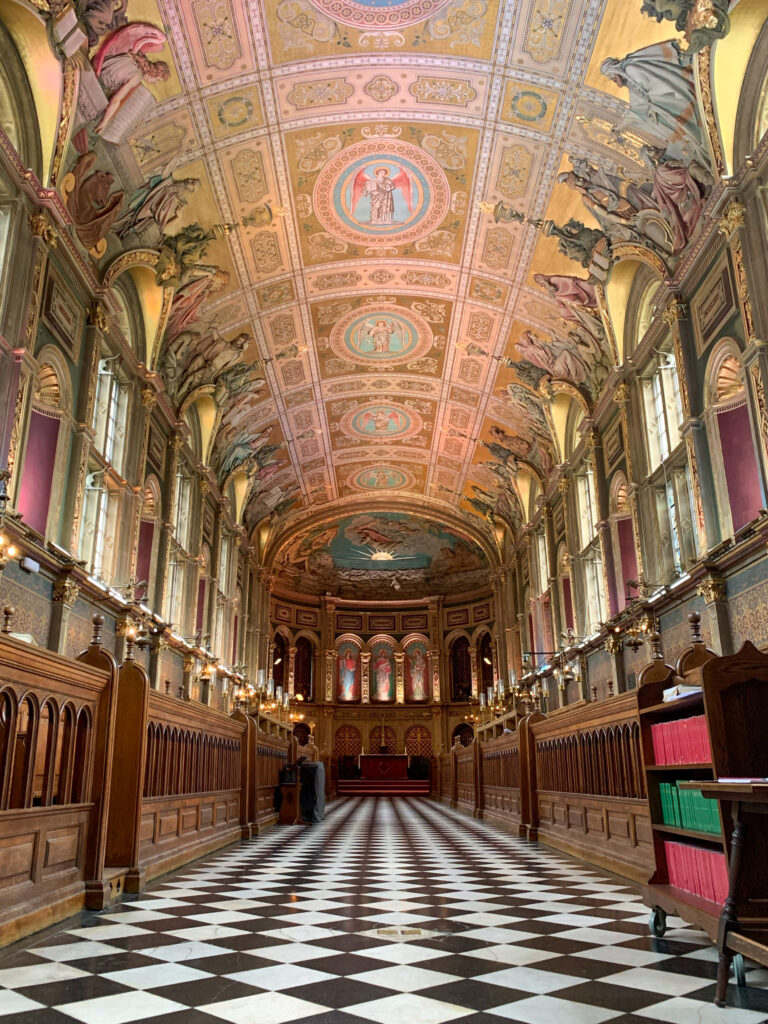
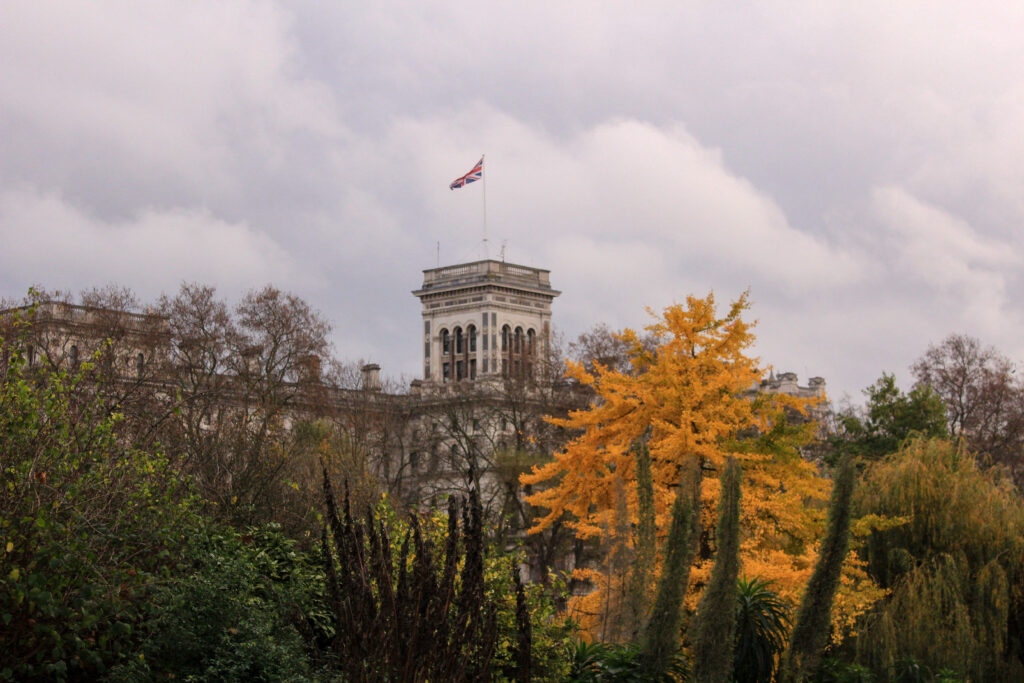
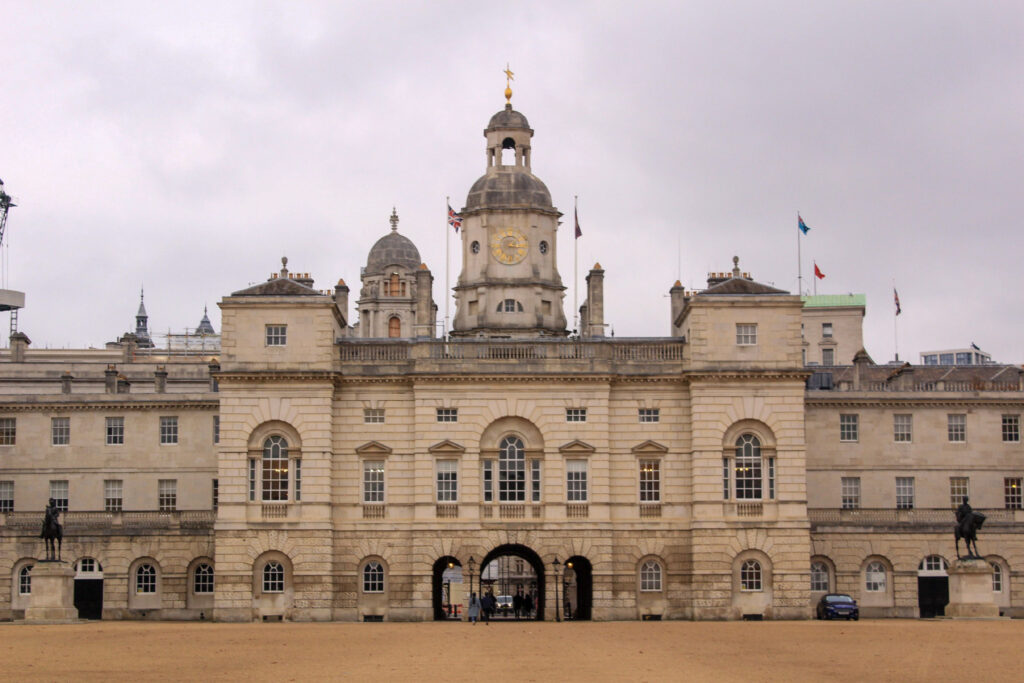
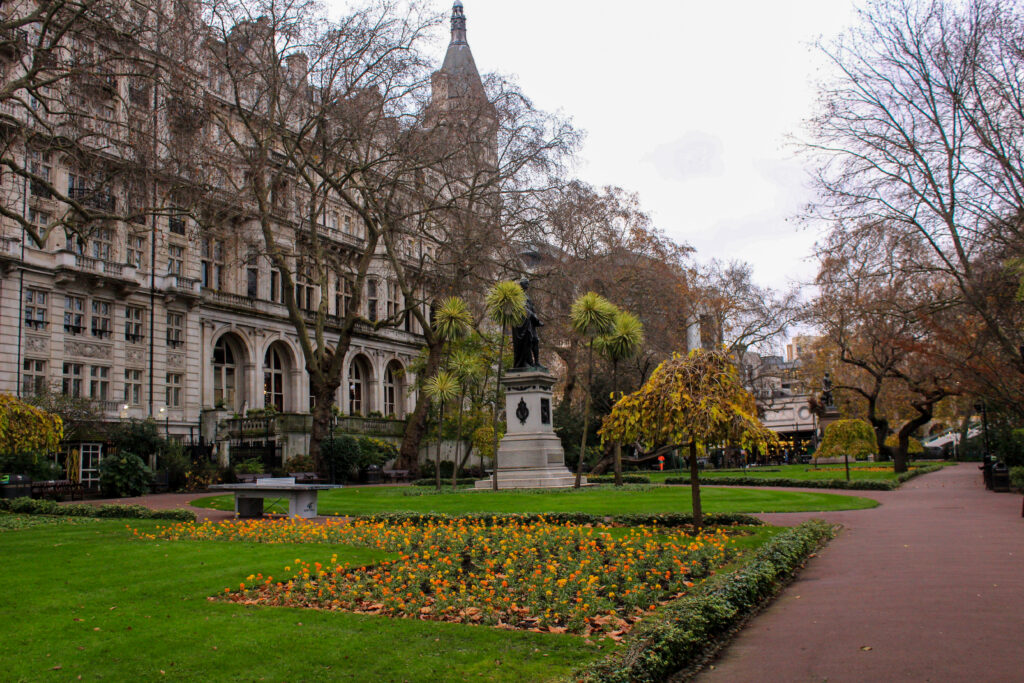
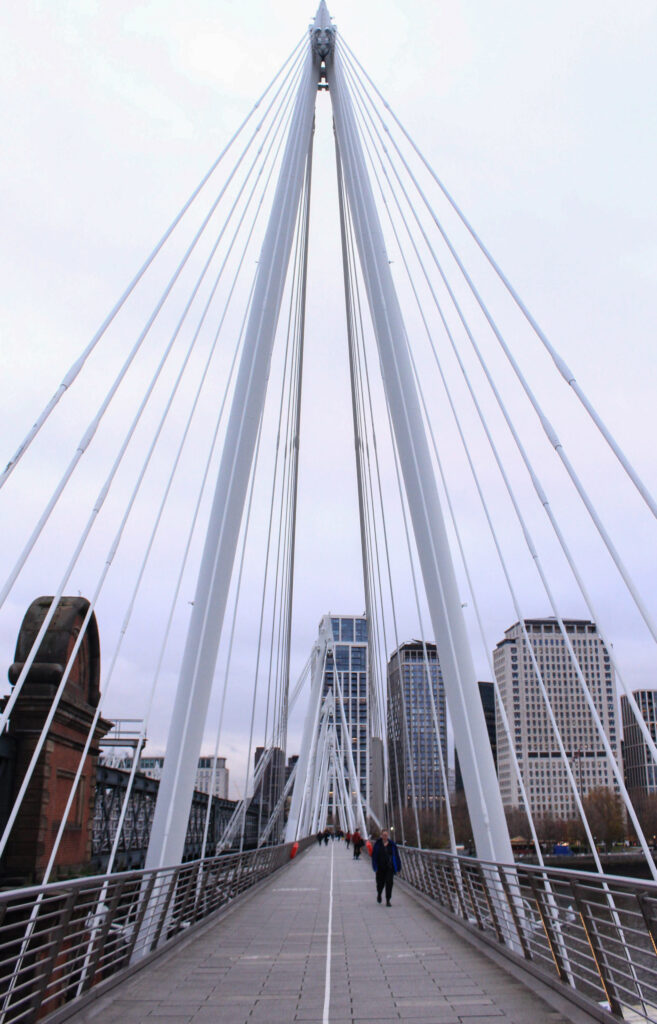
TOLAROIDS: Last snapshots of London

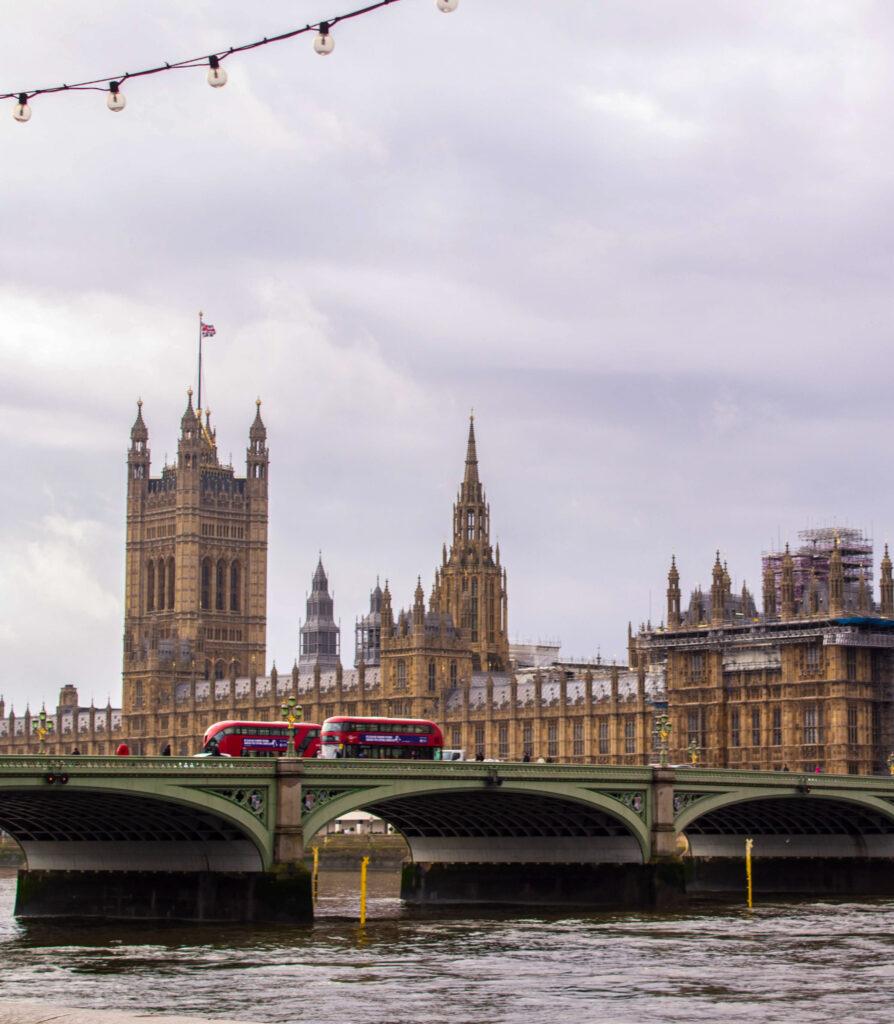
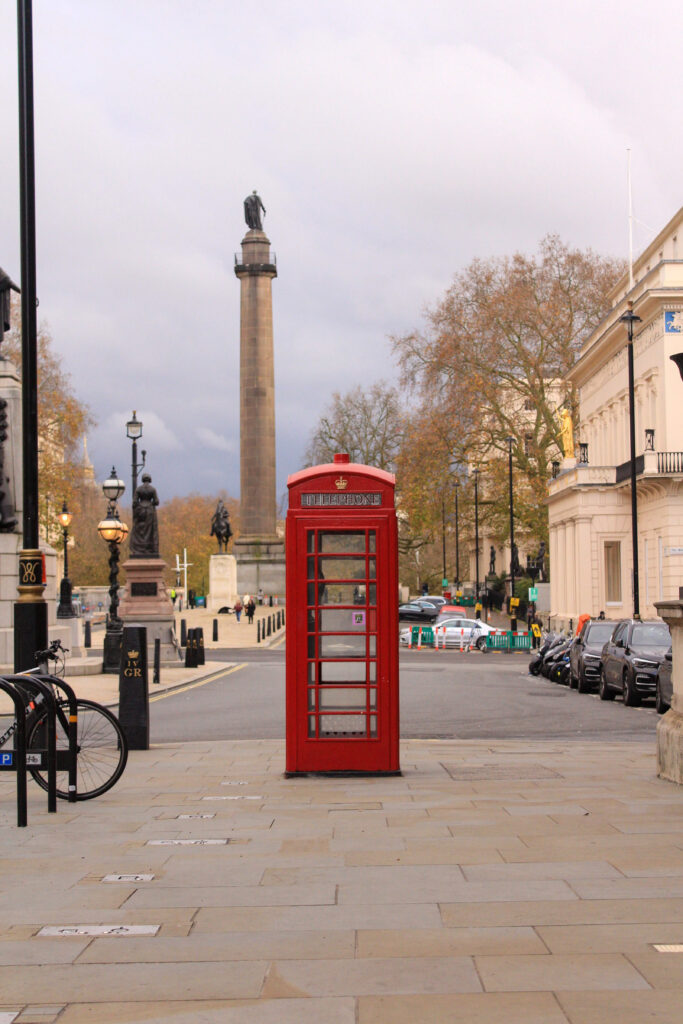
My idea for this week was actually something else – I wanted to post within the theme of “cities,” but I found some photos I took of London when I was last there before I left my university, and due to the pandemic wasn’t really allowed back. Since I haven’t shared them anywhere yet I thought I’d start here and go back to my planned theme some other time.


I do feel a bit of nostalgia for London since I love the city, maybe it’s because I just miss cities in general, maybe because I miss home, or maybe because the new season of “You” on Netflix is filmed in my old university (Royal Holloway, University of London) and I am a bit mad about missing it.

TOLAROIDS: Black & White (part 2)

If you’ve read last week’s post you now know my take on B&W photography and how in my opinion a lot of times it is used to cover up mistakes made in the original photograph before the edit. I argued that the best B&W photos are the ones that are intended to be B&W photos from the start, yet, I think you can absolutely discover that your photo is “eligible” for B&W photography in the editing phase. I’d strongly encourage you to try it, just for the sake of it, but while doing so keep in mind that it is supposed to add something to the photo, not rescue it. That’s why in this post I will try to explain some things to avoid if you try B&W filters.
 

Now, I chose photos that in my opinion do better in color but could look good in B&W too.

The first photo is one of my worst nightmares and it’s using way too much contrast, detail, and texture. It just looks burnt for some reason. People do that kind of editing often in color too, but I think it’s easier to commit this crime when shooting in B&W. Just please don’t.

The second image is way too faded on the other hand. I believe for this I used a Lightroom present (these can be helpful sometimes but 1. not every preset fits every photo and 2. not all of them are good). It is supposed to look misty but instead, you have a complete loss of texture. It’s not as bad as the first one but it definitely flattens the image. The third photo (while not ideal), balances the contrast with texture and brings out the figure out of the black background without making it feel like it’s cut out.

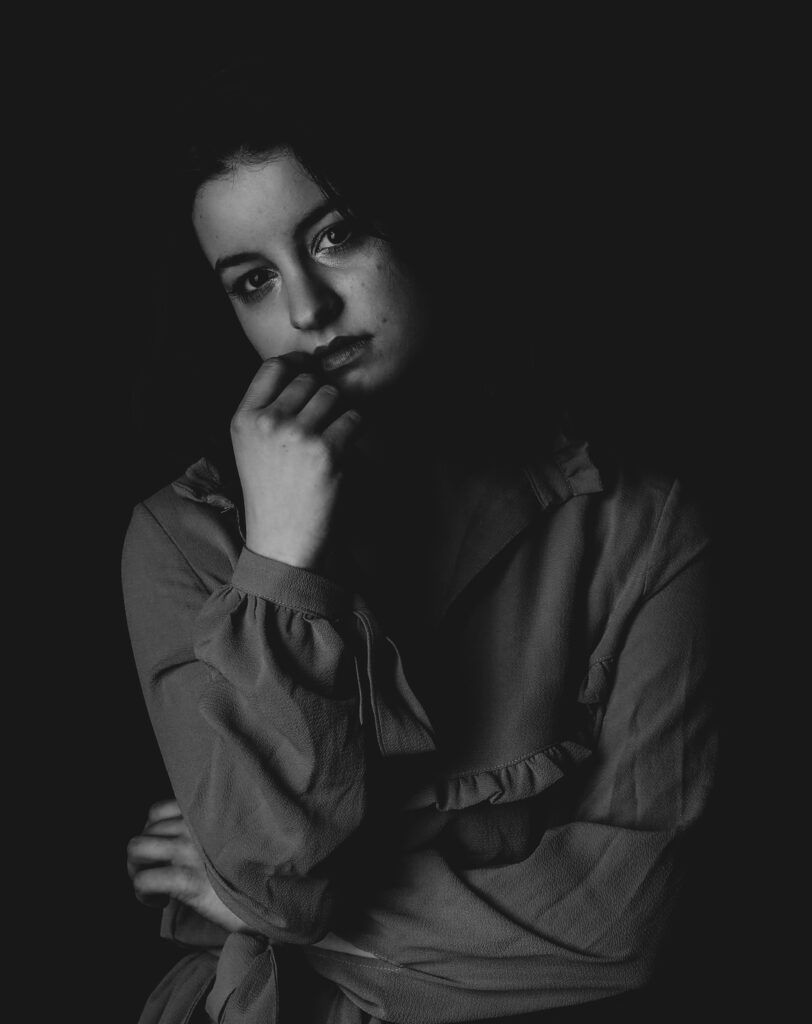
Many times we decide to edit in B&W it’s actually when working on portraits so we can add some “mystery” to it. Well, the first one makes the figure look like a ghost. It’s simply way too enhanced on highlights with cold tones. My mom who actually used to be a photographer (hi mom) always says that for some reason photos like this make her think of obituaries. Please don’t overexpose and don’t cool down the image too much.

The second image is a very very popular edit people use in social media. It’s a faded preset that flattens the image while also lightening the shadows and increasing the brightness (not necessarily exposure) of the picture. Is it terrible? No, it can be cute sometimes. Is it professional? Absolutely not.
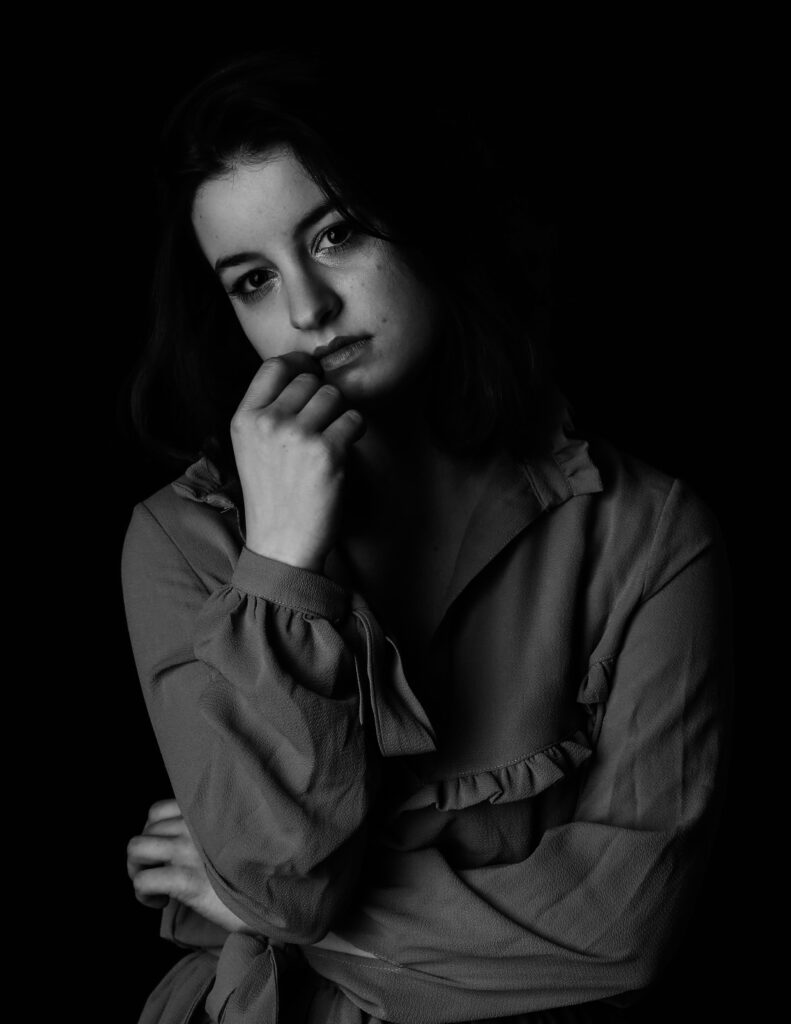
In the last picture, again, you see there is a balance between the shadows and whites. You want the person to be coming out of the background but not blend with it. I actually increased the texture here by a few points to make that distinction, increased contrast, turned down highlights, and increased shadows by a tiny tiny bit.

Let me know if you like this new format of posts so I can think of more opinion pieces/tutorials. See you next week!

-Tola

TOLAROIDS: B&W Photography (part 1)

Okay, here is my take on Black & White photography: it’s very difficult, it can be very beautiful, and 85% of the time it doesn’t work.

Many beginner photographers resort to B&W filters for the “artistic” look they give, but it would be a lie to state that professionals refrain from it – it might be a controversial opinion, but every time I see B&W photo entries among the winners in competitions like the World Press Photo, I just can’t help but think that some of them probably just didn’t look too interesting in color and were never meant for a B&W edit. They are supposed to create an illusion of dramatism or darkness, but if other aspects of the photo don’t speak for themselves this will just not work. I believe that what makes a remarkable B&W photo is that it was meant to be one from the beginning.

Maybe my aversion to B&W photography comes from the fact that many times people use B&W filters to cover up white balance and color mistakes, which I am definitely guilty of as well. I certainly hope you never find my early photography anywhere online, but if you do, you’ll understand why I usually avoid the B&W editing altogether.

To give you an idea, here are some good examples of when I tried to ‘cover up’ bad photography with B&W editing.

The first photo you might have seen already when I posted it for Women’s Day. It is a shameless cover-up, it’s not as bad as some other ones, but you can see where it came from: I had an unfortunate white balance issue that messed up my colors (they are very greenish and I still think this one was actually slightly edited which means the original was worse), and since my old Sigma didn’t do so well in the dark, it was almost impossible to fix it in Lightroom due to so much noise*. It is still a somehow intriguing photo, not because it’s B&W but rather due to the subject. The photo on the right is some kind of an attempt at “artsy” photography from a few years ago, and as you can see it would match an Instagram story better than a photographic portfolio. B&W didn’t fix the composition or lighting issue, nor did it make it artsy.

That’s why I genuinely think that the best B&W photos are the ones that are planned as such from the start. It’s a play between light and shadows, it’s knowledge about what colors give what shade on the greyscale. B&W photos can be truly captivating and are a form of art that is very difficult and very subtle, but because B&W filters became a rescue for our photographic failures, we are bored and unamused when we see a good B&W photo “in the wild.” Don’t get me wrong, you can absolutely discover that your photo can look good in B&W after taking it too – just don’t treat the edit as a plan B in an attempt to save what is simply not that great of a photograph.

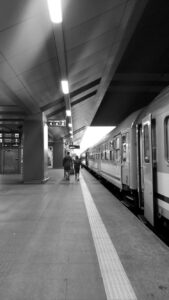
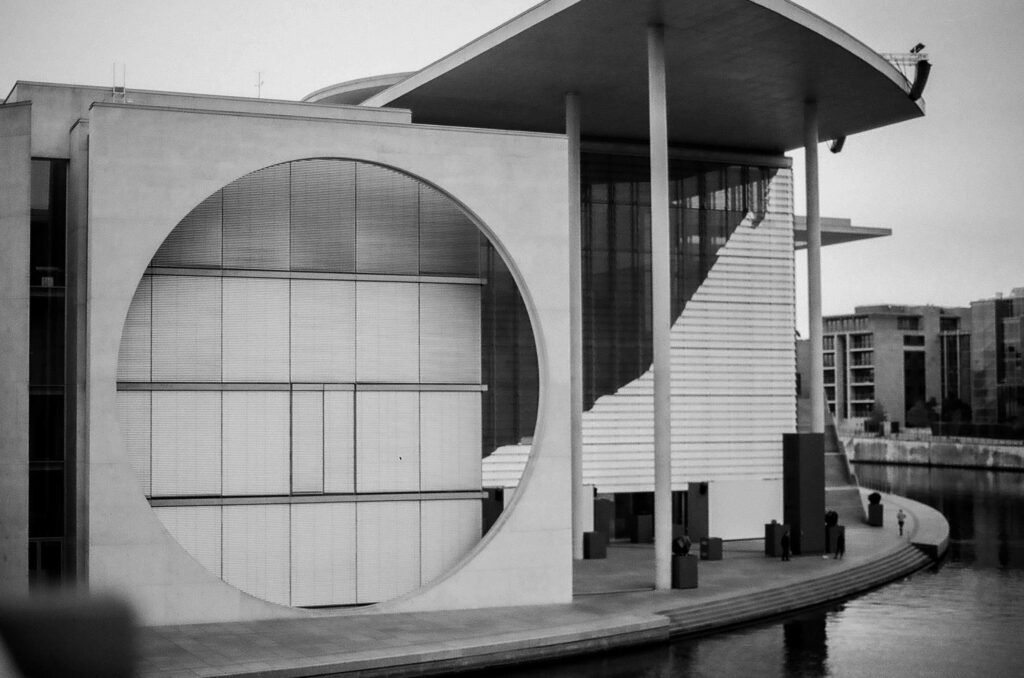
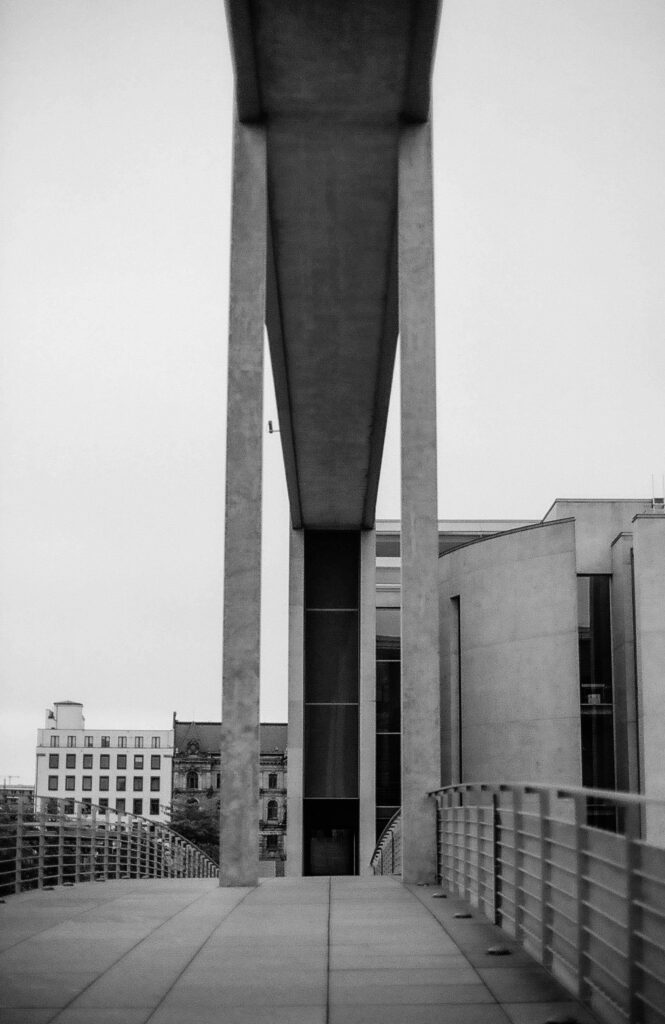
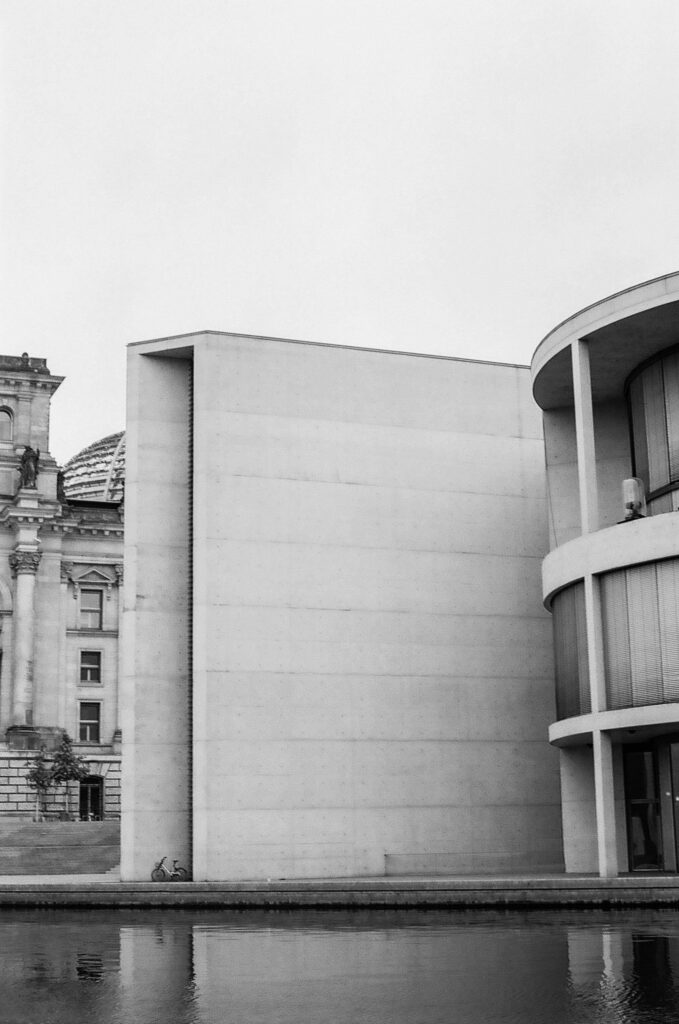
I am definitely yet to train myself in B&W photography, but for now, I am mostly a shameless judge. However, I do have some attempts I consider rather successful (at least compared to my previous ones, attached above). While the composition still requires some work, I like these (pro tip: architecture is a good subject for your early B&W photography). Moreover, these were taken by an Olympus OM-1, an analog camera, which gives them a special feel.


This is it for now, but I will continue the topic next week when I get into editing and how to turn your colored photos into B&W ones while avoiding some cliches and common mistakes. Maybe I will try to find some external sources of B&W photography I really like so you can see the true art behind it. It is definitely not easy, but it’s easy to mess up – but more on that next week.


-Tola


*when you can see “grain”, especially in the dark parts of your photograph