
*all photos in this post are taken with a phone unless stated otherwise
I knew I wanted to make this post at some point, but seeing how quickly the weather changes I decided to encourage people to make use of what might be the last weeks of the colorful and warm fall season.
Whether the goal is to get into photography or to simply spice up their Instagram, I’ve had quite a number of questions from people wanting to take more professional-looking photos about how to get around not having a camera. Contrary to a popular belief, you don’t need fancy equipment to take good-quality photos. The vast majority of phone cameras nowadays have specifications that are more than enough to take photos for use on social media or even small photography blogs – the major difference here is you probably won’t be able to print them on a big format due to lower quality and that often (as you will see in the post) phone cameras don’t have the same depth as a photo taken by a DSLR (Digital Single Lens Reflex camera that uses mirrors to take a photo).
For the purpose of this post, I will be using an iPhone XR with f/1.8 12-megapixel wide-angle camera (equivalent to a 26 mm lens which means you can’t really take portraits from up close as it will distort the person’s face).
So, how do I take photos with my phone?
Use the grid!
On most phones there is a feature that allows you to see the grid when taking a photo: use it. It can help with a better composition of the photo, color balance, and highlighting details you haven’t noticed before!

(hover over pictures to get a description)
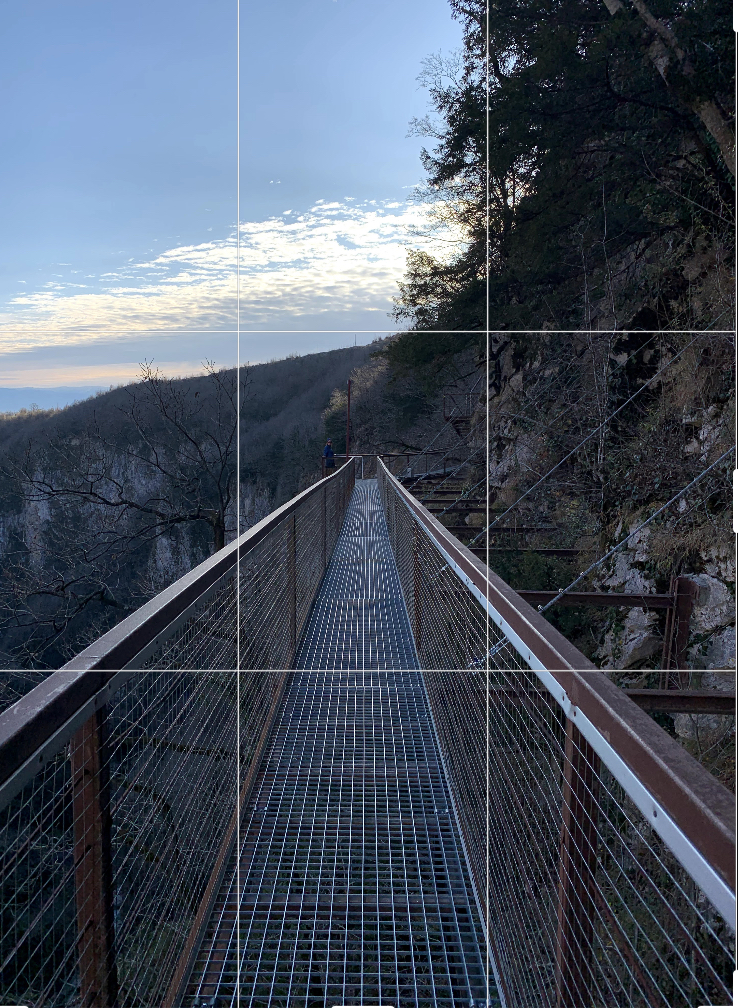
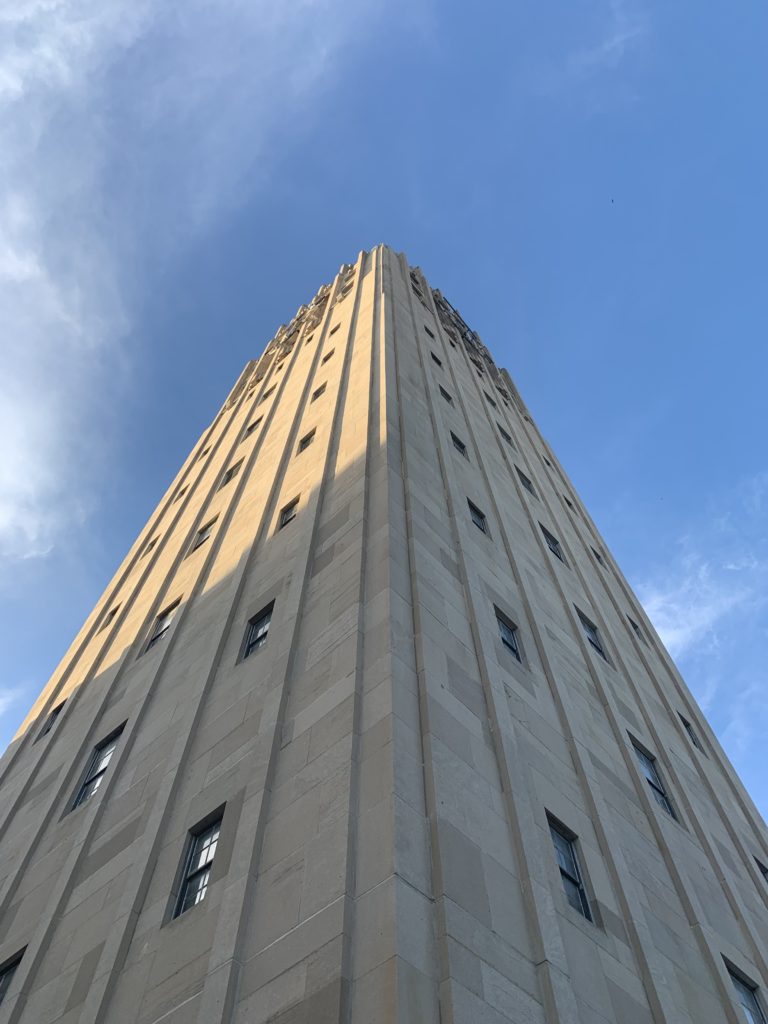
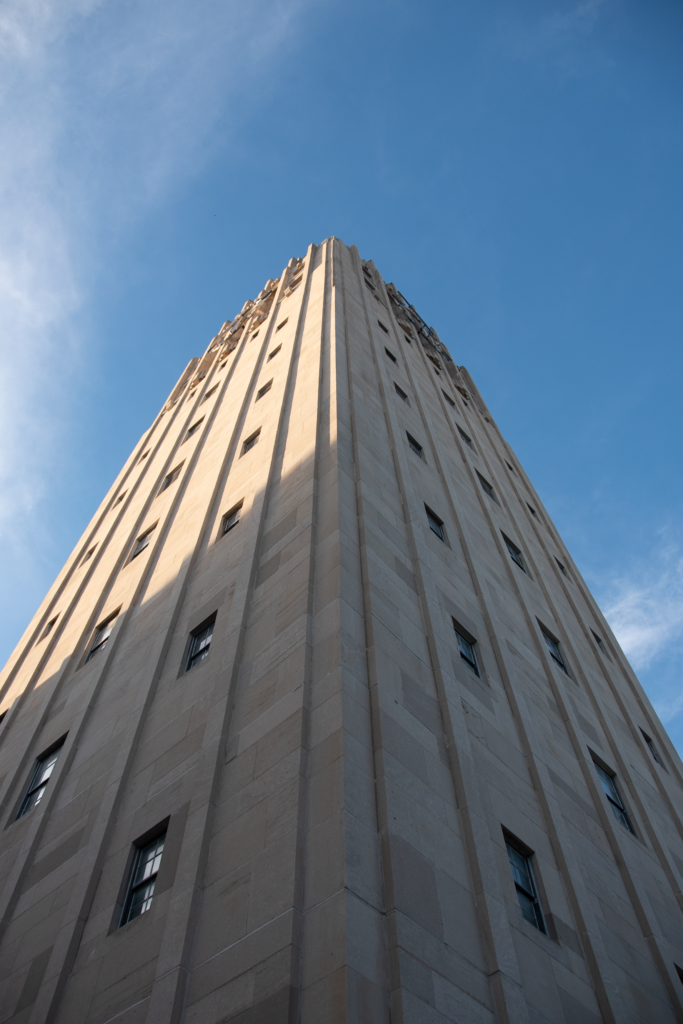
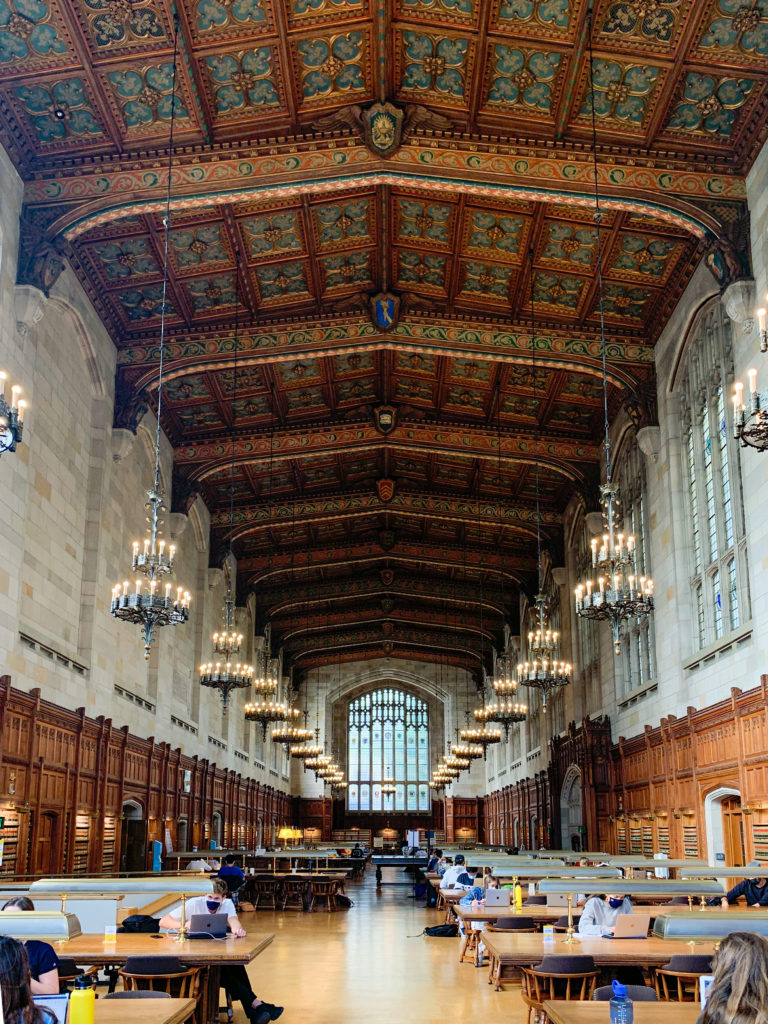
Find your center (please)
There are many pet-peeves photographers discover as they work on their skills, and one of the most well-known ones is being off-center. This applies mostly to photos of roads, interiors, alleys, bridges, but also anything really where you can find symmetrical features. You don’t have to be in the center to take a photo of a pretty street, of course, as long as that perspective is intentional. Many beginners though (myself included when I first seriously got into photography) sometimes want to get a quick photo without caring for finding symmetry, or think they found it without actually paying attention. Whether it’s just the environment you’re photographing that doesn’t have any symmetry or whether it’s you stepping this one centimeter away from where you should be, just please: try to find your center if you want to take a central (first point) perspective photo.
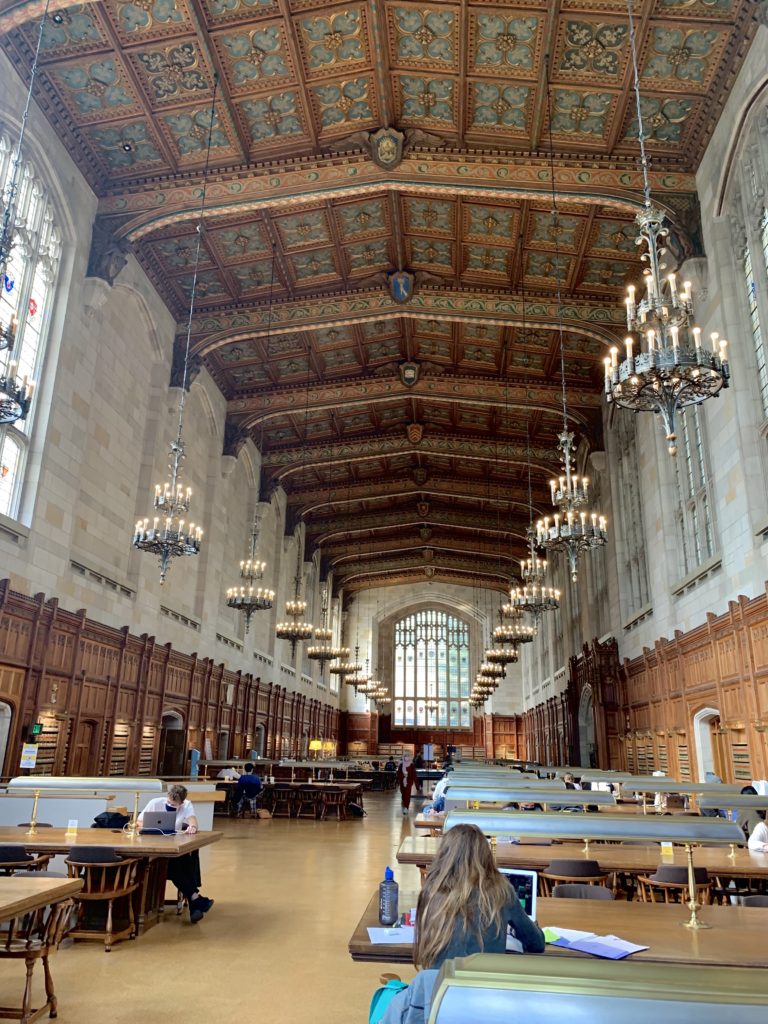
This attention to detail can actually make your photos look more professional. Just next time you take a photo from this perspective, turn the grid option on and look at whether your central point is in the middle of the middle column of the grid and whether the two vertical lines divide the space you’re photographing evenly/symmetrically.

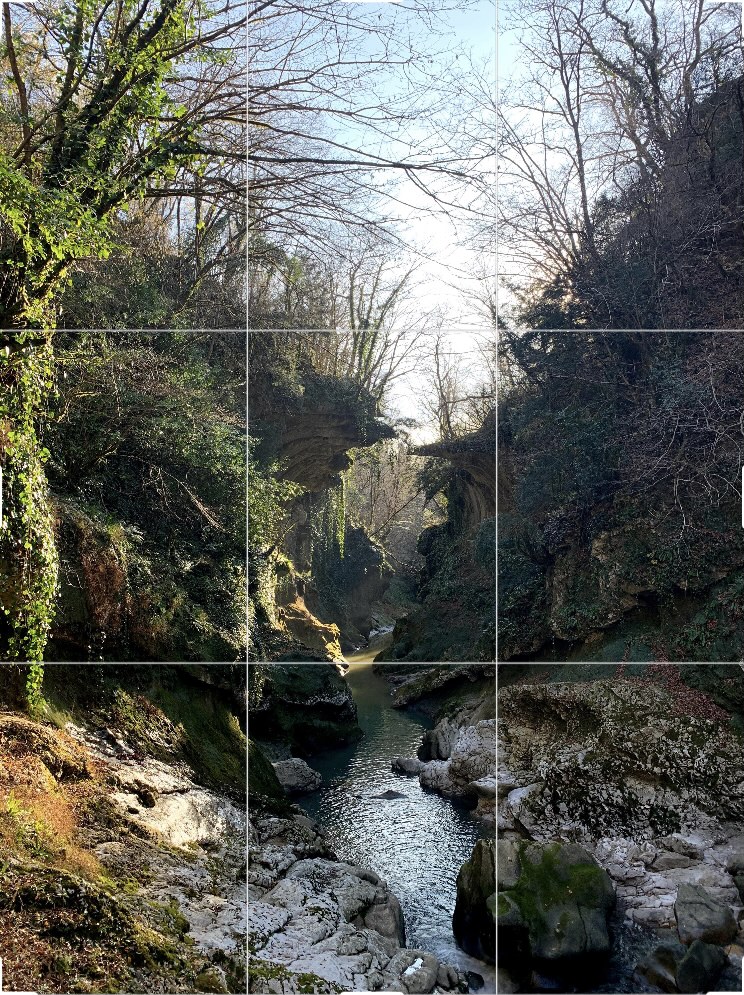
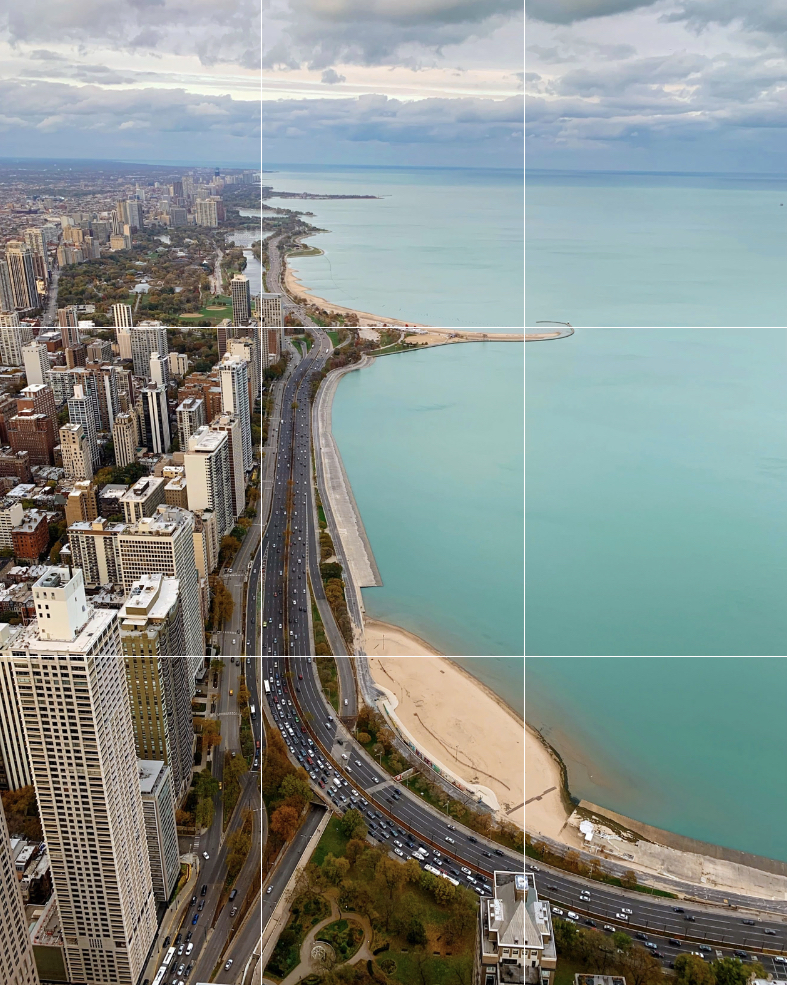
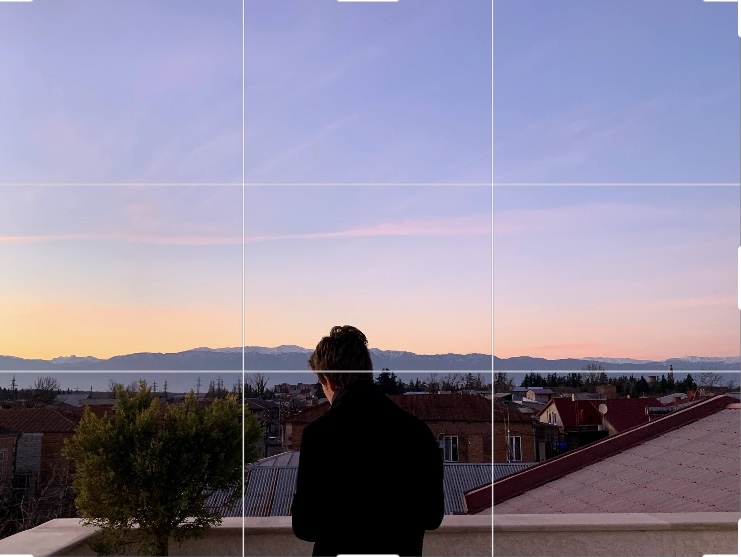
Or try the rule of thirds
What is known under the name “rule of thirds” is a way of diving the image into three equal parts but having only one of them occupied by the main subject, leaving the other two-thirds more open. This just “feels right” and often makes the photograph more interesting.


Another important element is power points, so the points where lines on the grid intersect. You would want to locate the most important parts of the subject in these points – again, it just feels right to the viewer and helps with getting a more professional-looking composition.

Try not to zoom in
As tempting as it is sometimes, it’s much better to get closer to the subject than trying to zoom in. The reason is that phones tend to use digital zoom instead of optical zoom that is usually found in DLSRs. An optical zoom adjusts the physical zoom lens to make the object appear closer, making the process essentially lossless. Digital zoom though involves literally cutting off parts of the image without the mechanical work of the lens, which is why the picture often looks blurry or pixelated. Some phone manufacturers like Samsung started introducing optical zoom in phones, but the effect (while generally much better compared to that of other products) is still far from that of an actual camera lens.


Adjust the light
Most phones have this little quick setting that allows you to adjust the exposure while taking a photo. While the camera app is designed in a way that can detect light and adjust the setting on its own, it happens that the device is simply wrong. If you want to experiment with that just click on the screen where you want your focal point to be and slide your finger up and down to adjust the exposure (in the case of an iPhone, it will be different on other devices)

Other things to consider
There are many other things we should consider when taking a photo. In general, try to take more landscape photos as it’s the default photo format, but of course, the portrait format is also very useful (well, for portraits for instance).
Try not to use the ready filters and effects that the phone camera has, instead, work with the lighting while taking a photo or play with some photo editing later! (I will write a separate post at some point about editing, but apps I can recommend include PicsArt, RNI films (for nice presets), or Lightroom mobile)
Of course, finding the right subject is also an issue, but there is no trick to start “seeing” some photo opportunities – just look around and you will find them! For now though, just take photos of whatever looks interesting and try to use some of the tips mentioned here.
If you want any further tips, have any questions, or want to show off what you’ve learned you can catch me at @akilian.jpg on Instagram 🙂
See you next week!
– Tola


