Hello everyone! My name is Marissa Woods and I am so excited to be returning to Arts, ink. this year as an artist and writer. Last year my content primarily focused on my illustration work and relatable content for students on campus. This year, I am taking the leap of journaling about my fiber arts practice. I plan on posting different techniques i am studying so you readers can learn along side me. This is a great opportunity for me to be able to log my progress over the year, as well as create more community awareness about fiber arts and the various topics I am passionate about.
I am going to cover a variety of topics such as weaving, sewing, embroidery, knitting, crochet, tapestry, etc. I plan to inform you readers on how to do them! My ultimate goal is to teach. Occasionally I’ll have free patterns uploaded for you to try on your own at home. I encourage you to become involved with fibers, it can be a great outlet and art form.
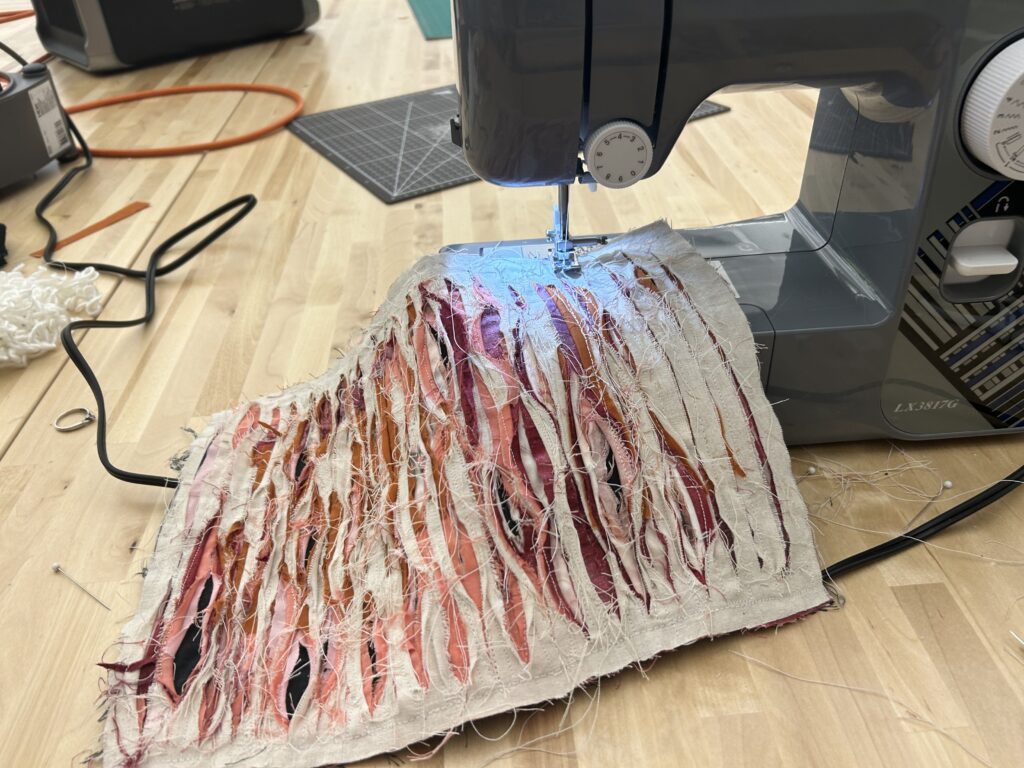
Our first topic, fiber slashing! (Sewing). I love the texture that this technique beings to the fabric. I am a huge fan of frayed ends and loose threads. This specific piece in the image was inspired by the women’s reproductive system. I am currently taking a women’s health course, which has majorly broadened my perspective. Feminism and fiber arts go hand in hand the more you look into its history. I will write more on this topic later!
In order to to do this technique on your own at home, 1. Lay 1 piece of fabric down 2. Lay a billion different little scraps of fabric on top of the first piece. 3. Layer a top piece of fabric, the same size as the first piece. 4. Sew with a machine around the border of your fabric sandwich, locking your inner fabics inside of a closed pocket. 5. Sew up and down, equally spaced apart, about 1/2 inch. (The wider the stitch gaps, the more fabric will come out when you get to the slashing. A smaller width can make it too small to get the fabric to pull up and out of the slash. 6. Using a seam ripper, CAREFULLY! rip into the top layer of fabric in the in between spaces. Be sure not to accidentally rip all the way through your back panel. If this happens, you may add additional stitching by hand on the back to re-form the support layer. Experiment with ripping into different layers of the fabric, instead of staying at the same depth! 7. Go crazy! Pull as many fibers as you would like to be frayed or pull out which specific colors interest you the most!
I hope everyone enjoyed this week’s first post! I am so excited to continue sharing my practice as well as educate about fiber arts! See you next Fiber Friday!
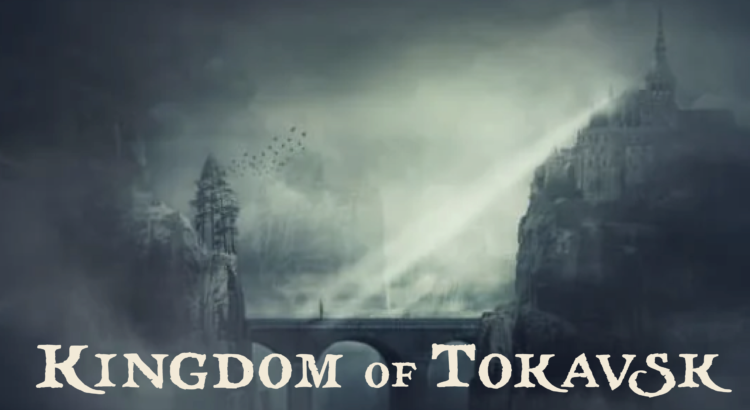
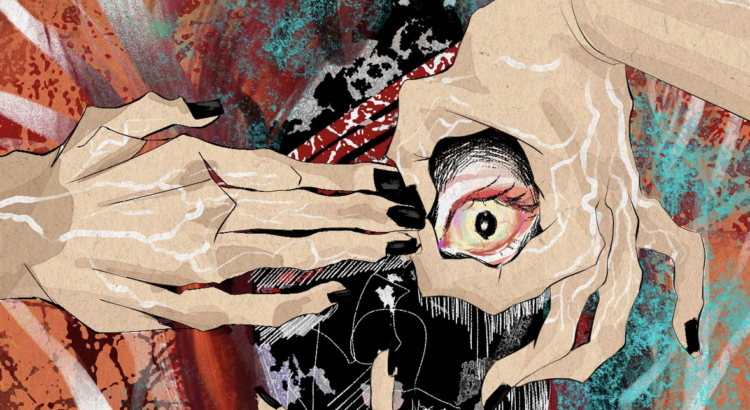
Hello. Sorry that I’ve been silent lately, but being an eldritch being from the great beyond university student does take its toll. I’m going to continue the story I began last year using the same format. This isn’t a style of writing I’m used to, and it’s interesting to go out of my comfort zone. Season 2 will unfortunately be the final season, as I shall assume my true form graduate in May.
I started this series with the intention of making it a worldbuilding project, but because I am primarily a storyteller, a narrative gradually evolved (to find out what it is, read season 1!). I don’t have a concrete plan because the workings of my brain are mysterious even to me, but I will (hopefully) finish the story this spring. I tend to plan things on a week-by-week basis.
What to Expect from Season 2:
More organization (I hope). I want the throughline of Season 2 to be more clear to create a more cohesive narrative/anthology thing.
Intrigue. Can’t have a court setting without intrigue.
Interesting characters. I love character writing, so get ready to look inside the minds of fictional people.
I look forward to seeing what this season brings. Stay safe out there, especially during spooky season. Always remember that the shadow behind you may not be your own.
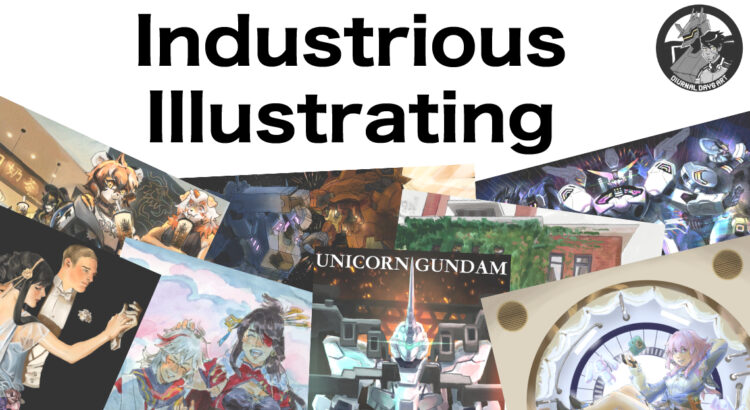
Hello, and welcome back to another week of Industrious Illustrating! Last week I talked about profit margins on mass-produced art merchandise, but that’s only part of the equation. This week I’m going to give a brief introduction to different types of manufacturers/suppliers who can produce your merchandise for you so that you don’t have to front the cost of expensive equipment yourself. For my merchandise specifically, I’ve ordered directly from manufacturers as well as through middlemen.
For absolute beginners, there’s Print on Demand services like Redbubble that do all the manufacturing and deliver merchandise directly to your customers for you, but they take a large chunk of the revenue (even larger than using a paid storefront like Etsy!) and the quality of their merchandise is harder to keep under your control. I don’t personally use these services, but they’re more accessible to artists who are just starting out with selling merch than ordering directly from manufacturers, especially as you don’t also need to purchase shipping supplies and fulfill orders on your own time.
Redbubble’s logo
For beginners who want to get a start on making their own merchandise and selling it directly through an online store or at conventions, Vograce is a Chinese manufacturer that specializes in acrylic charms but also does a lot of different merchandise types, all with very low MOQs and a relatively accessible website through Shopify. However, Vograce is a middleman for non-acrylic products (meaning that they charge more than directly ordering from the manufacturers they source from) and also has experienced a decline in quality in recent years because of an increasingly large number of orders. (By the way, the decline in quality that manufacturers sometimes experience when receiving too many new orders is why a lot of artists are reluctant to disclose their manufacturers publicly!) I’d advise ordering through Vograce only if you don’t want to spend time researching other manufacturers and are willing to accept the risk of receiving defective products.
Vograce’s logo
Middlemen are agents or companies that contact manufacturers on your behalf and help you set up and fulfill your merch orders for an additional cost. In fact, the case study I went over last week (my bottle cap pins) was ordered through a middleman who has a direct line of contact with a Chinese factory and did the file-checking and payment on my behalf. Some advantages of going through a middleman include tighter quality control, saving the time needed to vet manufacturers for quality, and being able to try out more types of merchandise that otherwise might require high risk and investment costs. Specifically, I was in a group order with other artists, so we could all order smaller quantities of merch and hit minimum order quantity (MOQ) as a group rather than fundraise for a large order or take a risk by paying out of pocket for hundreds of items that may or may not actually sell.
Directly ordering from manufacturers is generally the cheaper option over using a middleman, as you’re only paying for the time and supplies used by the manufacturer instead of also paying for the time and expertise of a middleman. The site I personally use for finding manufacturers is Alibaba, a website meant for businesses to directly source from manufacturers located around the world (although mostly located in China). Generally, Chinese manufacturing has lower prices and more specialized products than you can order domestically.
Alibaba’s logo
There are some American manufacturers you can directly order products like acrylic charms and pins from, but they may not have as many options available and could end up being significantly more expensive. If they aren’t more expensive, there’s a good chance that they’re actually middlemen sourcing from China rather than actually manufacturing domestically (a common bait-and-switch with enamel pin companies specifically). I only order my prints (and, when I still sold them, stickers) through US companies for this reason, as they actually print domestically rather than having an incentive to secretly order specialized products from abroad. In terms of US-based printing companies, I definitely highly recommend CatPrint for their low MOQs, high quality printing, variety of paper types available, and relatively fast turn-around.
Catprint’s logo
However, some manufacturers have high MOQ for their products — possibly 100 units per order or more — that make them prohibitively difficult to order from as an individual. You’ll also have to do all the communication yourself, which means dealing with a language barrier if you’re (most likely) working with a Chinese manufacturer even though they have English-speaking representatives who’ll communicate with you. Alibaba can also be a difficult and overwhelming website to navigate if you don’t already know what you’re looking for, and you’ll likely have to both do your own research and ask around for price quotes on your merch orders to figure out what your best options are.
That’s all for today’s brief-ish introduction to manufacturing! I may go into this topic again in more depth at some point, but I’ll also want to talk about other topics first before I come back to this. I hope to see you guys again for next week’s column!
Hi Wolverines! It’s been almost 2 months! Go Blue, Wolverines! 🐺💙 As proud students of the University of Michigan, we are part of a legacy that’s shaped by excellence, innovation, and a strong sense of community. When you look around, us wolverines are here💙
I redesigned Simon (again)! He originally had this short-sleeved silk dress shirt, but I got tired of doing all the clothing folds and texturing. So hello blue rashguard! I’ll probably simplify the shirt even more, maybe mess with the colors, but I prefer the silhouette much more. Here are my concepts + some casual and Halloween outfits.
I also added some purple to his skin and face. The tips of his fingers have become purple as well, leading to a gradient to his skin tone. That is because I modified his backstory to include botched mithradism due to family issues. It illustrates his sometimes-toxic and self-destructive nature better. He has become more of a grotesque beauty.