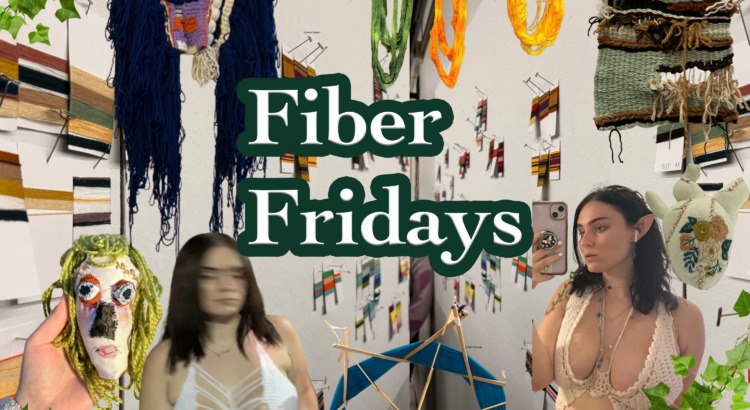
Fiber Fridays #5: Arduino + Processing

Hey everyone,
This week I am super excited to show you a sustainability + ecological project I and my partner Yueshan Jiang have been working on in my creative coding class for our final.

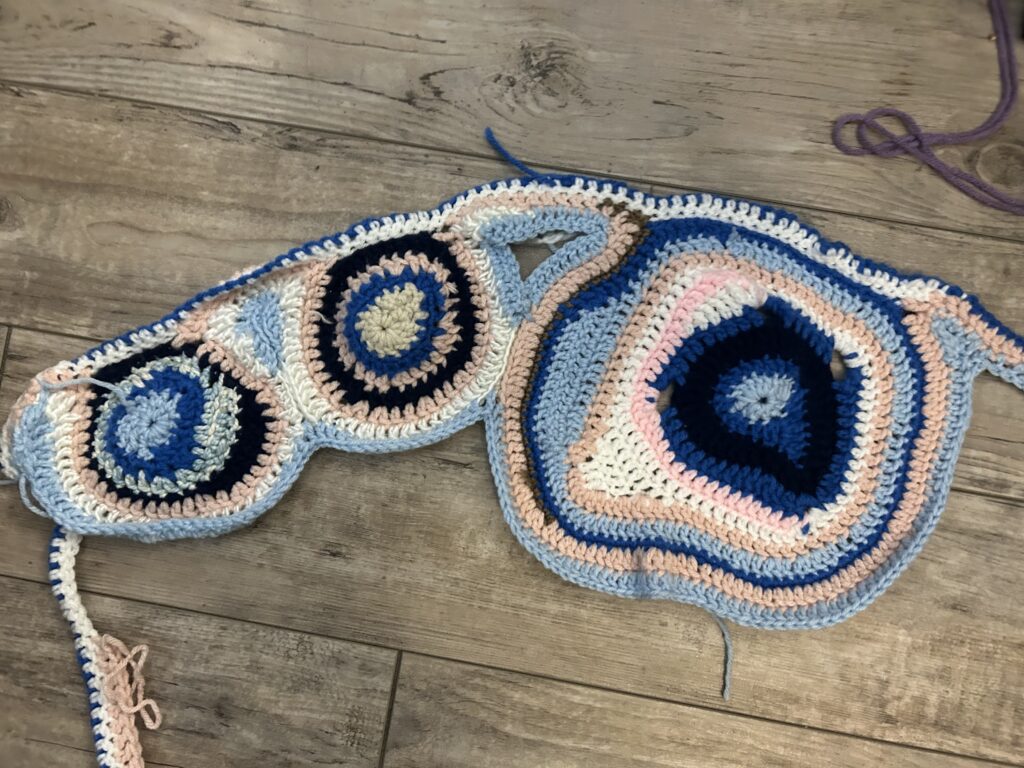
This semester I have been focusing on how to make my fiber arts more interactive for the viewer. I initially learned how to code using Processing, an artist focused programming language. I learned how to be able to manipulate images, create video games etc. Later in the semester us students were taught how to use an Arduino kit to wire interact art installations.

I’ve had an extremely fun time learning these skills and find them really useful to incorporate into my artwork.

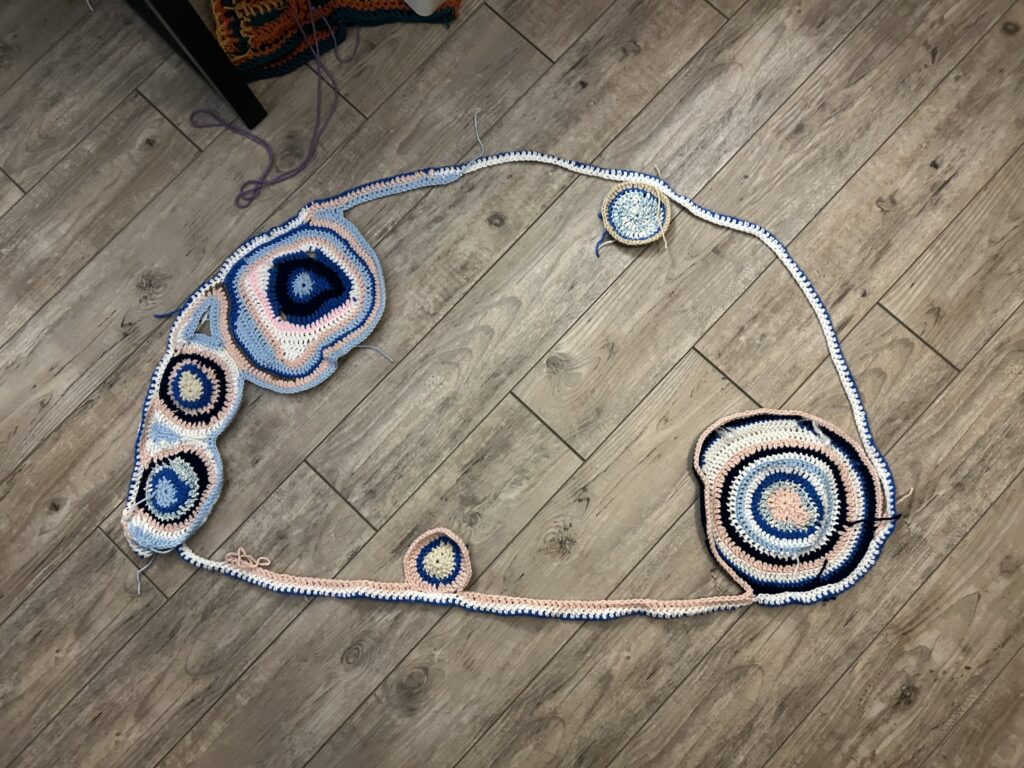
Yueshan and I have created this sculpture together to shed more light on the current global climate crisis and it’s relationship to the ocean.

“Our world is currently suffering a global climate crisis. Our oceans are raising in temperature, killing off sea life. The warming oceans cause thermal stress which causes coral bleaching and infectious disease. Sea levels rising also leads to sediments smothering coral. The intention of this interactive experience is to feel a connection between human and sea life. Intended to be immersive and interactive, this piece promotes human impact on the climate crisis as well as instills empathy for our ocean life. ”

How it works: (Stripped straight from our proposal)
“We will use the ultrasonic sensor to pick up on human movement. The closer the viewer is to the coral, the more violent the wave in the background becomes. The light in the central coral sculpture will turn a threatening color. Audio will increase causing the viewer to feel tense. As the viewer moves away, the color returns calm, as does the visual and audio being presented. This sensor will take this information and send it to the Arduino, which will tell processing how to change the visual. The Arduino is responsible for changing the light colors in the sculpture. “

I recently declared a minor in geology and the earth is becoming ever more important to me. I appreciate all the work that Yueshan has helped put into this project, taking on primarily the coding aspects.

That’s what I have for this week, I excited to show you next Friday some Christmas gift crochet ideas!

-Marissa

Yueshan’s Instagram:
@jyueshan_

Fiber Fridays #4: Freehand Crochet

Difficulty: Hard

Hey everyone!
I have been so busy as of late working on a super big crochet project. The Stamps undergraduate exhibition deadline is coming up and I am binging a bunch of Gen Z podcasts and crocheting nonstop. The theme this year for the exhibition is “resistance”. I want to save getting super into the meaning of my project in February, after the exhibition.
This week, since I am doing so much freehand crochet, I figured that I could show you some of the process work, and try to give as many tips and tricks as I can. In order to under stand how to freehand crochet, one must know how to read and execute crochet patterns. Knowing how these patterns form and hope the stitches interact with one another is extremely important in developing your own design with no instruction. You must have a strong grasp on how increasing and decreasing stitches can affect your work. You also might need to know how to sew depending on your design, or learn how to mattress stitch panels together. I would recommend that you know how to crochet in the round.

On the most basic level, what I am trying to achieve physically with this piece is a stylized rendition of a geode. I am a geology minor and like to incorporate that interest into my work. You can start out your freehand crochet however you’d like, but since I know the general shape of the form that I want, I started with an outer border and worked my way in. I am using scrap/ reclaimed yarn/ donated yarn to create this piece. You can see in the picture below the general idea of where i’m going with this.
I’ll post the final piece after the exhibition.
If you have any additional questions, comment below!
See you next Friday,
Marissa

Fiber Fridays: Fabric Slashing + Intro

Hello everyone!
My name is Marissa Woods and I am so excited to be returning to Arts, ink. this year as an artist and writer. Last year my content primarily focused on my illustration work and relatable content for students on campus. This year, I am taking the leap of journaling about my fiber arts practice. I plan on posting different techniques i am studying so you readers can learn along side me. This is a great opportunity for me to be able to log my progress over the year, as well as create more community awareness about fiber arts and the various topics I am passionate about.

I am going to cover a variety of topics such as weaving, sewing, embroidery, knitting, crochet, tapestry, etc. I plan to inform you readers on how to do them! My ultimate goal is to teach. Occasionally I’ll have free patterns uploaded for you to try on your own at home. I encourage you to become involved with fibers, it can be a great outlet and art form.

Our first topic, fiber slashing! (Sewing). I love the texture that this technique beings to the fabric. I am a huge fan of frayed ends and loose threads. This specific piece in the image was inspired by the women’s reproductive system. I am currently taking a women’s health course, which has majorly broadened my perspective. Feminism and fiber arts go hand in hand the more you look into its history. I will write more on this topic later!

In order to to do this technique on your own at home,
1. Lay 1 piece of fabric down
2. Lay a billion different little scraps of fabric on top of the first piece.
3. Layer a top piece of fabric, the same size as the first piece.
4. Sew with a machine around the border of your fabric sandwich, locking your inner fabics inside of a closed pocket.
5. Sew up and down, equally spaced apart, about 1/2 inch. (The wider the stitch gaps, the more fabric will come out when you get to the slashing. A smaller width can make it too small to get the fabric to pull up and out of the slash.
6. Using a seam ripper, CAREFULLY! rip into the top layer of fabric in the in between spaces. Be sure not to accidentally rip all the way through your back panel. If this happens, you may add additional stitching by hand on the back to re-form the support layer. Experiment with ripping into different layers of the fabric, instead of staying at the same depth!
7. Go crazy! Pull as many fibers as you would like to be frayed or pull out which specific colors interest you the most!

I hope everyone enjoyed this week’s first post! I am so excited to continue sharing my practice as well as educate about fiber arts! See you next Fiber Friday!

What “Makes Up” A Drag Queen

Makeup and I have a very strange relationship. I’ve gone through phases of wearing a full face, wearing no makeup, nothing but red eyeshadow, winged eyeliner, funky colorful eyeliner… you get the gist. I started experimenting with drag makeup two years ago, and back then everything on my face mainly came from drug stores. And to be totally fair, most of what I use two years into my drag career still comes from CVS and Target, since a lot of it is cheap and totally works! So I’m gonna break down the makeup I use on the regular for my drag, and my favorite brands to buy from!

The look I’m using utilizes most of the makeup I use and pretty much all of my favorite brands! As seen above, it’s a green medley artistry look with funky eyeliner shapes, glitter and sparkles, and my distinct black lip and lack of brows.

Like most drag queens, I use Elmer’s disappearing glue sticks to glue down my eyebrows. Surprisngly, those kindergarten glue sticks are still the best for glueing brows! I use elf Hydrating Face Primer and cover my brows with The Crayon Case concealer in the lightest shade, as well as my foundation in Wet n Wild photofocus Stick Foundation and Krylon Paint Stick in “TV White”, a staple of many drag queens. My eyeliner is NYX’s Epic Wear eyeliner, and I use Kim Chi Chic Beauty’s The Most Conealer in shade “White” to create my eye crease. And then the fun stuff:

The greens and yellows here are part of the Mango Tango and Virgin Mojito palettes from Kim Chi Chic Beauty. The glitter on my lips and nose is from Midas Cosmetics in shades “Soul” and “Mermaid”. All the eyeliner detailing is either NYX or Glisten Cosmetics, and the black facepaint on my neck is from the Amythest Painting Palette. My go-to black lip is a mixture of NYX Epic Ink eyeliner and Sephora black liquid lipstick.

Besides my drug store basics, I try to mostly shop from queer-owned, black-owned, or other small businesses for most of my makeup. The Crayon Case is an amazing black-owned beauty brand themed around school supplies, Midas Cosmetics is a afro-latina-owned indie brand that offers cruelty-free and vegan glitters and eyeshadows, and Beauty Bakerie (which I didn’t use for this look) is a black-owned makeup brand themed around, you guessed it, a bakery! My current go-to brand is Kim Chi Chic Cosmetics, created and owned by Kim Chi, an Asian drag queen who’s makeup artistry is To Die For! Her brand has adorable themeing with teddy bear palettes, drink-themed eyeshadow palettes, adorable heart-shaped blushes and highlights… literally the cutest brand. So if you’ve learned anything from this article, it’s that Pinball is Obsessed with KCC Beauty and that cheap makeup doesn’t have to be bad makeup!!


The Indian Artist – American Dhulan

When I mention the fact that my parents had an arranged marriage people look at me like I’ve stepped out of an 18th-century melodrama. At a young age, I never understood the semi-shocked looks or the elongated replies of “Ohhhhh interesting” that I would receive. Each one of my aunts and uncles had an arranged marriage along with all of my grandparents and their parents before them. It seemed like a normal thing that I was expected to partake in as well when I was ready to get hitched.

However, growing up in American society, and over time, veering away from the strict traditions of my culture, I have found myself torn between following in the footsteps of my ancestors and creating my own path. This is an aspect that I choose to discuss heavily through my art, the culture that I was born with versus the culture that I have grown up amongst, and the difficulties that come with being pulled constantly in different directions. As I am sure many kids growing up in an immigrant family with diverse backgrounds can sympathize with, this dichotomy, this constant battle between sticking to my roots while wanting to experience beyond the uber-traditional and what is “expected”, has proven to be more than challenging.

How about a little background before we dive in too deep? Both of my parents were born and raised in north India, coming from families that had strict ideals and followed tradition to a T. They were set up, married, and came to America for their educations, to start a new life, a life of promise and opportunity for their children. When my brother and I were born here, we were also raised in similar ways and held to the same expectations that my grandparents had set for my parents. Along with these expectations and all of the rules came the unspoken belief that I would one day grow up to blindly marry a man of my parents’ choosing. The mere thought of falling in love with whomever I chose, a man of any race, was something that wasn’t dared to be entertained.

The piece that I have shown represents this internal struggle and discusses some of the challenges faced by many children in strict traditional families. I chose to title this piece American Dhulan, once again representing the dichotomous relationship between my Indian upbringing in American society.

In Hindi, “dhulan” means the bride. This piece, done in various mediums ranging from watercolor, colored pencil, fabric, and gold leafing, is a rendition of a traditional Indian bride decorated in intricate ornaments and clothing. In the drawing, all of the jewelry has been removed in place of different scenes. Her necklace symbolizes the destruction of true love as two hands reach for each other but never meet. The earrings, nose ring, and forehead decoration are each whited-out. Instead, they are replaced by images demonstrating different modes of stress and mental health challenges many children face but are oftentimes overlooked.

As time has gone on, I have come to find solace in my culture while continuing on my own self-made journey. I have chosen to accept the very traditional parts of the Indian lifestyle and the difficulties that may come along with it as another part of the otherwise beautiful culture. However, now I choose what I want to be a part of my story.

In the following posts, I will dive into other aspects of my culture and how it has molded me into the person that I am today. If anything that I discussed in this post stands out or if any questions arise please comment and share your thoughts!!

Looking forward to next Sunday!


~ Riya


Personal website:   https://riyarts.weebly.com/

In The Eyes of an Architecture Student: An Intro

As an architecture student, I often get questions on what that’s like, or people just looking at me differently because I am in such a different discipline than them.

Well, to answer that question, I’ve always felt that it is natural for me and my classmates to gravitate towards similar visual interests, and see the world in different perspectives than people of other disciplines.

The image above is a meme I found online, that perfectly sums up what exactly this looks like, and what it feels like when I step back to see the big picture, when I amuse myself, thinking back to the feedback sessions during class and how it must look to outsiders with their first architecture school exposure, or a conversation with a non-architecture friend about my projects who are genuinely interested in understanding my ideas, but sometimes just need a bit more rephrasing or adjusting their thoughts so they are able to comprehend what exactly I am talking about.

Literally, the other day in class, we were discussing the significance of a picture of a glass of water resting on a clean, wooden table. I caught myself, making detailed observations or odd questions, like, the water depicted is so clean, further reinforcing the photographer’s purpose to demonstrate the cleanliness of the facility that produced that water. Or, the glass has only been filled with x amount of water, could it be a symbolic representation of the photographer’s ideological bias?

Others would likely see this as me being an over-thinker, or just some strange girl who has an interest in finding beauty or extra, made-up meaning in mundane objects, but I think this sort of logic of thinking is quite typical of architectural education, for instance, when instructors are having a conversation with us, about a designer’s intentions, or when we are asked to interpret someone else’s work, and we try to relate to their design, making it a valuable experience which is able to contribute to our own future design-work.

I definitely find myself more in-sync with my abstract interests whenever I photograph. I’d just visit a place, or an object, look at it from different points of view, then capture the images through my camera lenses, and it’s only afterwards, when I’m looking back at the images, that I realize these must look like such random shots to someone else, or sometimes even I question why I first found that view so intriguing, or how I even got the idea to shoot in such a perspective.

I have many other experiences to discuss, but I won’t write your eyes out, so I’ll discuss more in the following weeks, so stay tuned 🙂

And if you want to checkout my abstract photography, follow me on Instagram @themichiganarchitect !