
Good Afternoon everyone! I hope that you are well. I know that I haven’t posted in some time, but I wanted to write a short post today showcasing some work that I did last semester using a brand new technique!
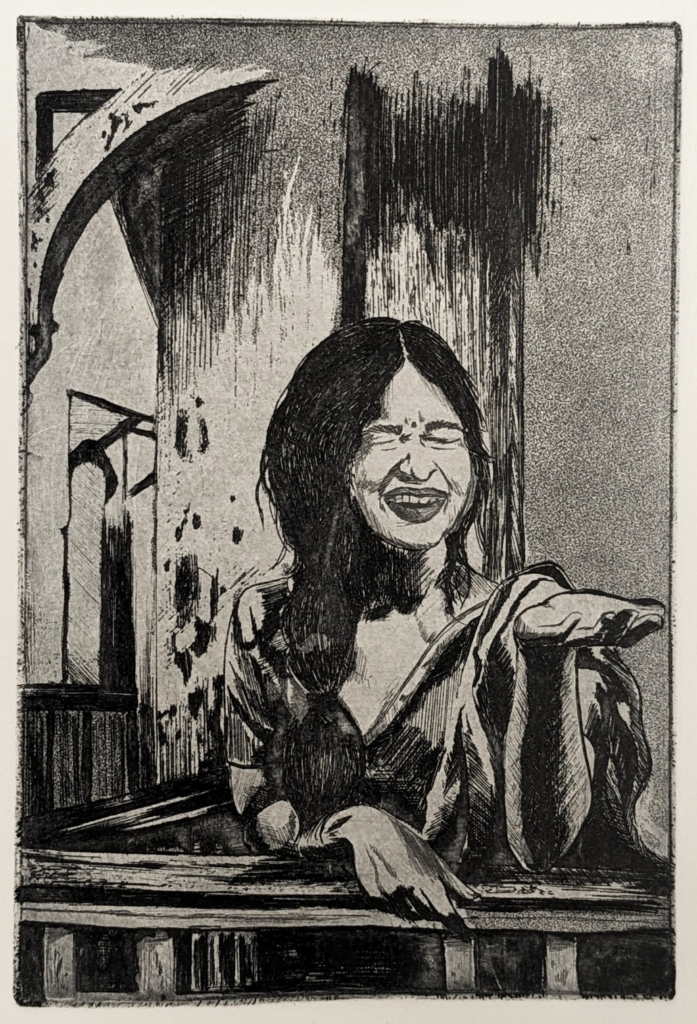
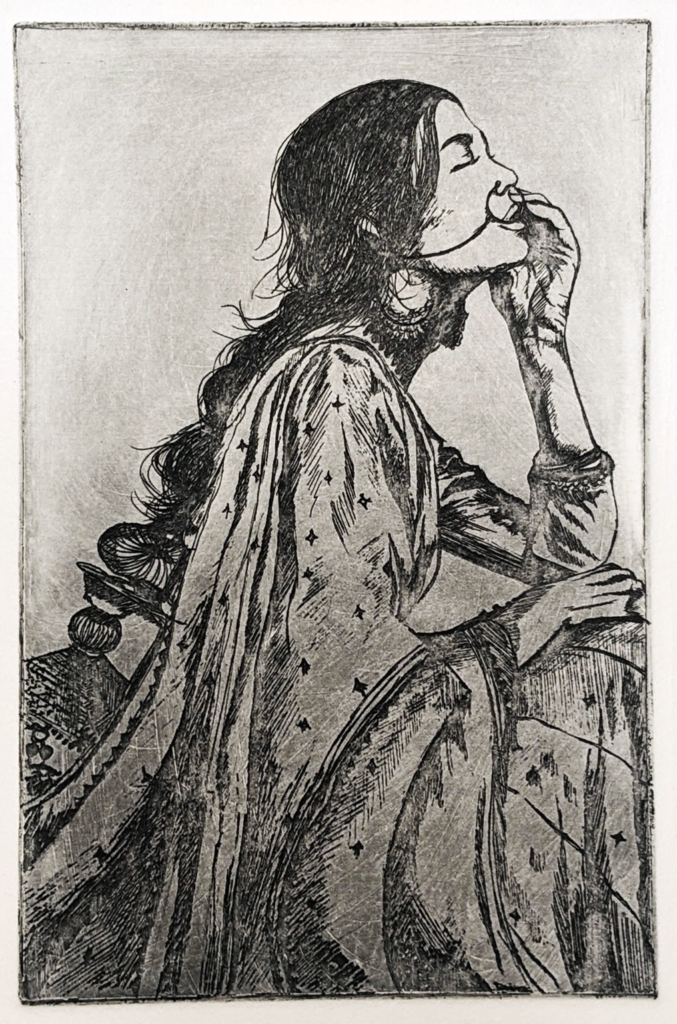
Intaglio is a means of printmaking in which which the image is carved into a surface and the incised line or sunken area holds the ink. This method is the direct opposite of a relief print where the parts of the matrix that make the image stand above the main surface. Linoleum carving is a type of relief printmaking whereas copper etching is an example of intaglio. I had the privilege of learning intaglio last semester and it was a pure joy! I wanted to share the steps that I learned and the pieces that I made. Enjoy!
- Create your sketch! Figure out the subject matter than you are interested in rendering and create an initial drawing.
- Prepare the plate! In order to transfer ink from the etched copper plate to paper, it is fed through a press. If the edges of a copper plate are left raw, they can cut through the paper.
- The first step is the burnish and round off the edges of the plate
- The second step is to degrease the surface of the plate so that the ground can stick to it. Degreasing the plate is done by mixing a solution of vinegar and whiting together and rubbing it all over the surface. Once this is done comprehensively the plate is rinsed and dried.
- Lastly, something called a ground is rolled onto the surface of the plate and cured on a hot plate. This ground is what is carved into to expose copper. The exposed copper will be etched when put into acid!
- Transfer your image! This is simple, just use some transfer paper and get your image onto your plate.
- Now you are ready to etch! Using a thin needle, draw into the hard ground to expose the copper plate. This can be done in layers as the longer the copper is exposed to acid, the darker the lines will be and vice versa.
- Etch the plate! Put a piece of contact paper on the back on your copper plate to protect it from the acid. Then, just suspend the copper plate in a vat of ferric acid. Again, etching for longer will make the lines darker.
- Print the plate! Apply ink to the plate and wipe off the excess. The ink will sit inside of the etches lines and will transfer to the paper when put through a press set to the correct pressure!
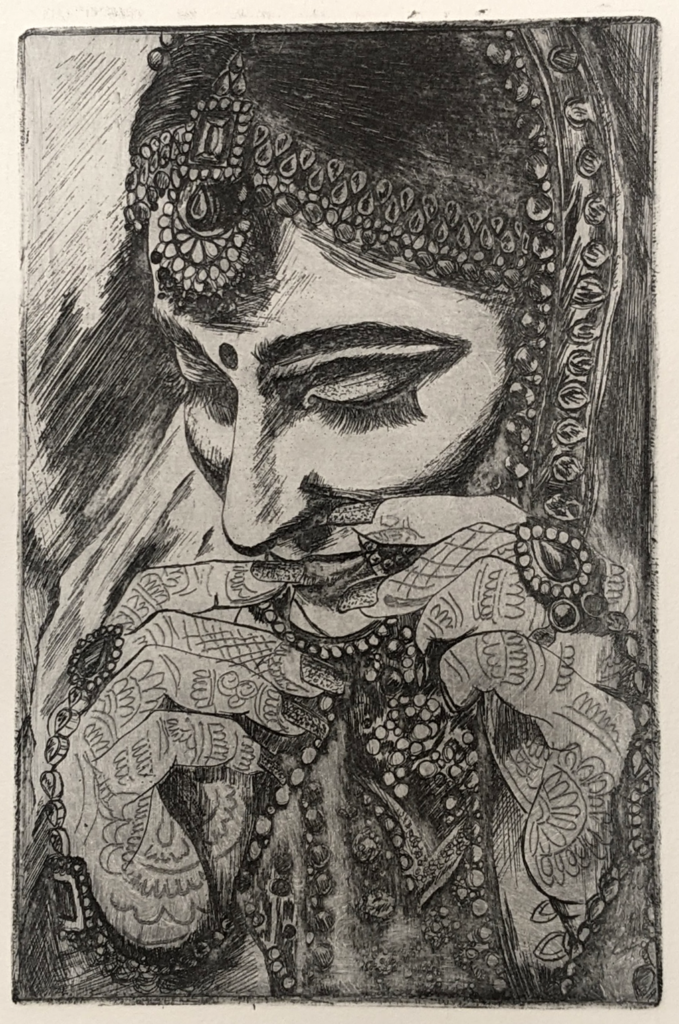
And that is all it takes! I know this was a long overdue post and a bit of a different one, but I hope that it was interesting to read! I have always really admired printmaking and am so lucky that I have had the opportunity to dive into it this past year. I am currently working on a woodblock print and look forward to sharing it with you all.
As always, please feel free to reach out to me or comment if you have any questions, concerns, or thoughts! If you would like to see my work, please feel free to check out my website and follow me on Instagram.
Until next week,
Riya
Instagram: @riya_aggarwal.art
Website: https://theindianartist.weebly.com/

Leave a Reply
2 Comments on "The Indian Artist, Final Year: Intaglio"
Hey Riya! I’m glad to see you posting again! These pieces all looked so beautiful! What is your preferred style between intaglio and relief printing?
The last piece you have in here is so impressive. The amount of detail you were able to include is truly captivating. Thanks for sharing!
Thank you so much for your comment Julia! I love both relief and intaglio for their own merits! There’s something so therapeutic about the carving required for relief. On the other hand, there is a level of detail and finesse that can be achieved with intaglio that is difficult in relief.